Tracking with Varify.io
Table of contents
In short
Under A/B Testing Options, you set up the tracking of your experiments with the Tracking Setup Wizard. Here you specify which web analytics tool is used to evaluate your A/B test results.
The wizard guides you through the setup and helps you to select the right option.
Step-by-Step Tutorial
Auto-Setup with the Tracking Setup Wizard
Tracking setup
Varify does not track any data itself. To analyze your experiments, you can simply connect your existing analytics tool with Varify.
The Tracking Wizard guides you step by step through the setup of tracking for your preferred analytics tool. You can adjust all settings at any time.
Open your dashboard and click on Go to Tracking Setup under A/B Testing Options. The tracking setup will then open.

Setting up tracking with the Setup Wizard
Step 1: Web analytics tool
First select the analytics tool to which you want to send your experiment events. There are several options available to you.
In this example we show the setup for Google Analytics 4.
Further analytics tool instructions:
Step 2: Event Data
Once you have selected your analytics tool, you define how Varify events are sent to your tool for user identification.
Yes, I have integrated the Google Tag Manager
If the Google Tag Manager is integrated on your site, you can set up the setup automatically or manually. With the automated setup, Varify creates and manages its own GTM container, which is delivered via the Varify script. This coexists alongside your existing container.
Recommendation: Use the automated setup for quick and easy setup.
For experts: If you want to set up the setup manually, you will find separate instructions here:
Manual Google Tag Manager tracking integration
No, I have not integrated the Google Tag Manager
If you have not integrated the Google Tag Manager on your site, you can connect directly to a Google account (step 3).
Step 3: Connect Google Account
You can connect directly to a Google account, which will automatically set up the tracking for your experiments. Use an account that is also linked to your Google Analytics property.
Important:
- The Google account must have at least marketer rights in the GA4 property.
Agree to all requested authorizations so that the setup works smoothly.
Then select the correct Google Analytics account and the corresponding property.
Step 4: Experiment evaluation & user consent
Experiment evaluation
Select here whether you want to analyze your experiment data in GA4 and Varify or whether it should only be available in GA4.
You can also specify whether your event data is sent to Analytics with or without consent.
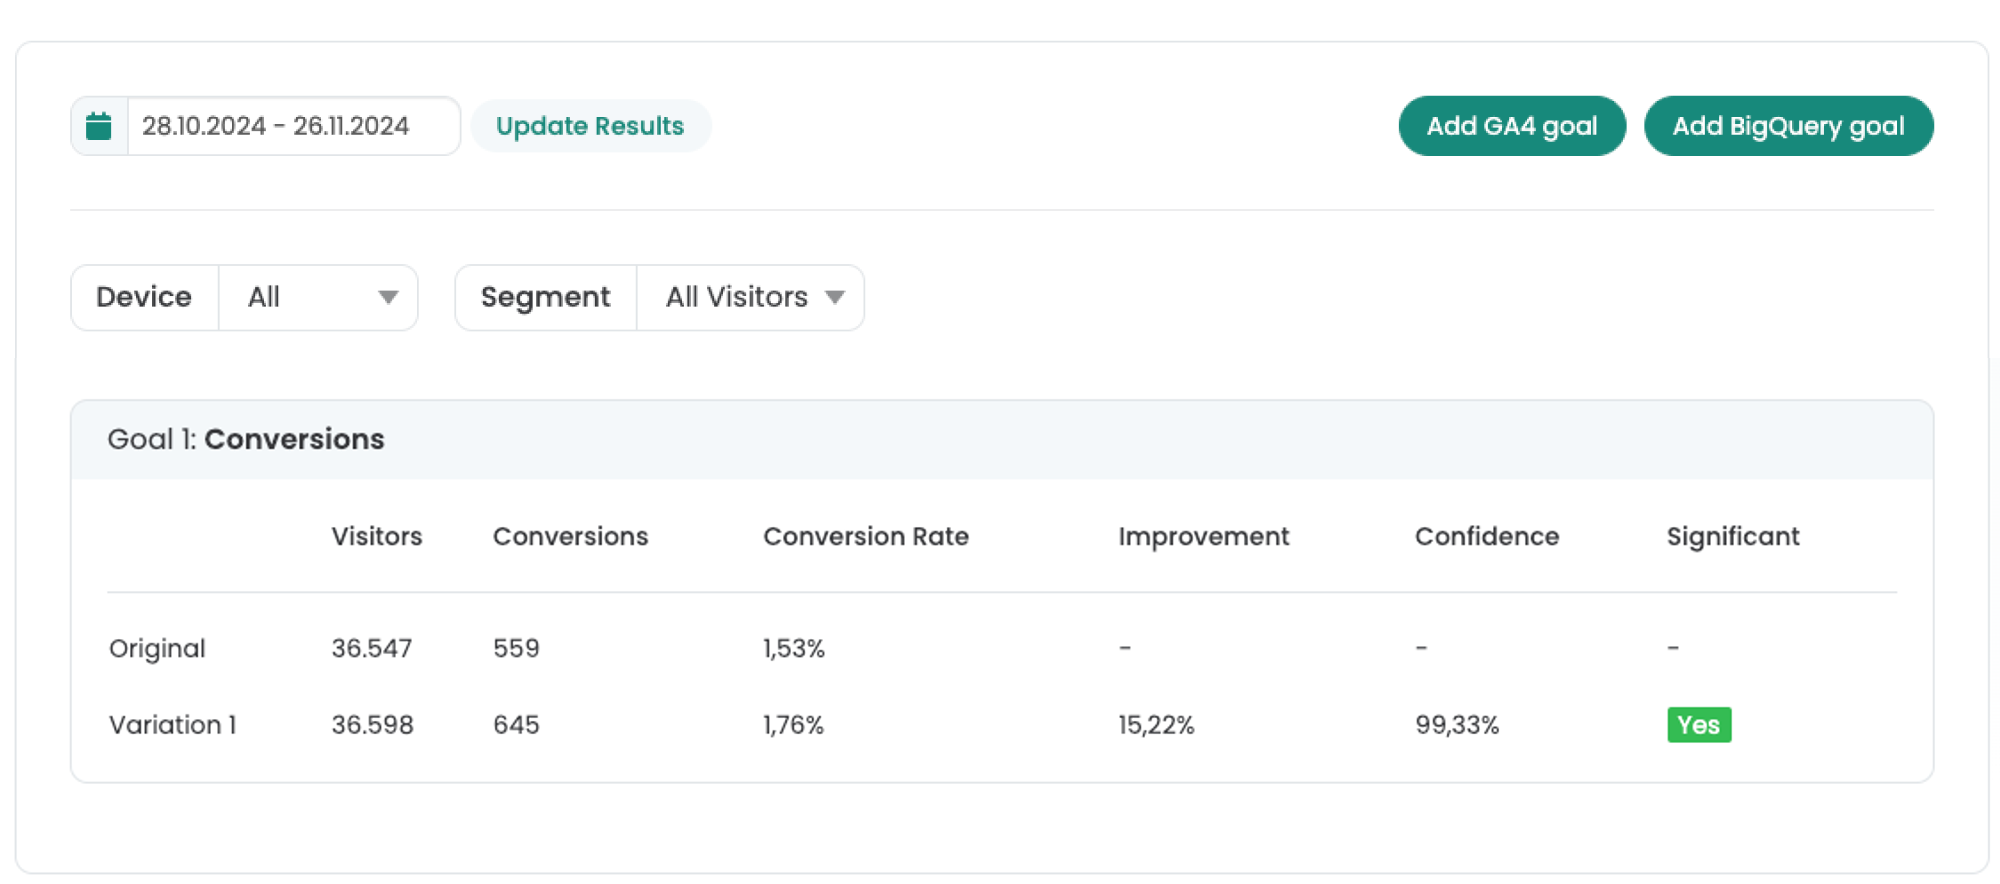
Reporting in Varify.io
You can use the in-tool reporting to evaluate your experiments. You can find detailed instructions here: GA4 reporting in Varify.io
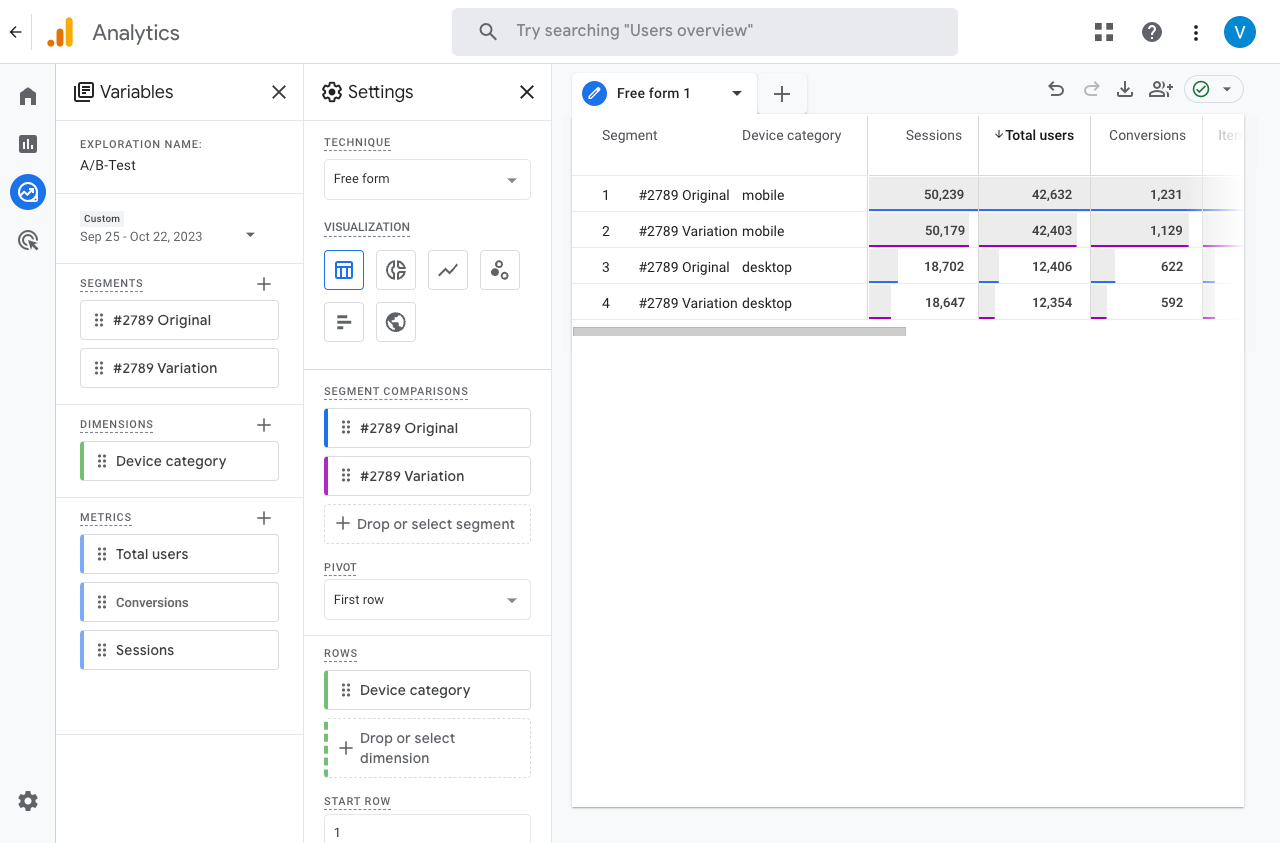
Reporting in Google Analytics 4 (Explorations)
You can evaluate your experiments directly in GA4. This method is particularly recommended if Google Signals is activated in your GA4 property.
Here you can find out how to evaluate your experiments in GA4: Segment-based AU valuation in GA4
Sending tracking data via user consent (optional)
Here you can specify whether Varify events should only be sent to GA4 after user consent.
Important: If Google Analytics 4 is linked to user consent, you should also only transmit the Varify events after consent has been given.
As every setup is different, we provide you with here only a separate general manual is available.
Advanced Setup
In Advanced Setup, you can make additional (optional) settings for your tracking setup. The most important option here is the setting for the variant assignment for your experiments.

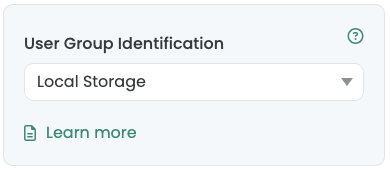
User Group Identification - Variant assignment
Specify whether the variant assignment of your test participants is repeated for each new session or whether it remains permanently, across sessions.
- Local Storage (default): The group assignment is retained. Test participants keep their assigned group as long as the test is active - even if they visit the page again.
- Group assignment is reassigned each time a new session is started. This happens, for example, when a visitor closes the tab or browser and returns later.
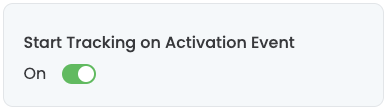
Start Tracking on Activation Event
Use this setting to specify whether experiment delivery and tracking should be separated from each other. By default, we recommend that they are separated so that the events can also be received more reliably by GA4.
Activated (default setting): The Varify events are only sent when the Varify Activate Tracking Script is executed. This ensures that:
The Varify tracking events are only sent after the Google configuration tag has been loaded.
If GA4 is only loaded with user consent, the Varify events are automatically sent to GA4 with the user consent.
- Deactivated: The events are immediately written to the data layer when the variant is played.
Varify Activate Tracking Script
					<script>
  if (window.varify && typeof window.varify.setTracking === 'function') {
    window.varify.setTracking(true);
  } else {
    window.addEventListener('varify:loaded', function () {
      window.varify.setTracking(true);
    });
  }
</script>
Data saving mode (beta)
Without the data saving mode, the Varify event is triggered every time your experiment is played (if page and audience targeting return "true").
If data saving mode is activated, the Varify event is only triggered once per visitor and session. This reduces the number of events and queries in your analytics tool and can save costs when using BigQuery, for example.
Wait for GA4 consent update (beta)
Notice: With the new Tracking Activation Tag can you do that Timing of the Varify event differently to the Consent or the Consent Update bind.
You can find more information here: Sending data with user consent
❗️WICHTIG: If you have activated this option and no varify events appear in the data layerthis may be due to this setting. In this case, we recommend using the to deactivateto ensure that the events are triggered correctly.
First steps
Tracking & web analytics integrations
Create experiment
Targeting
Reporting & evaluation
Visual editor
Further integrations
Expert functions
Security
Troubleshooting / FAQ
Further useful content
If the Varify Event in the Data Layer before the Consent Update is triggered, it can happen that hardly any or no A/B test data is GA4 arrive.
With the activated "Wait for GA4 consent update"-mode, the Varify event only sent when the Consent Update has been initialized in the data layer. Experiment data is only transmitted to GA4 if consent has been given.
The Playout of the experiment remains unaffectedas it is independent of this setting.