WordPress - A/B test new page builder elements
Table of contents
In short
Limitless testing in WordPress: Create new blocks, sections, navigations or other elements in the CMS (e.g. with Elementor), give them a unique ID and hide them in the A/B test using CSS. With Varify, the element becomes visible again in the test version - so you can test new content without having to rebuild the page. Ideal for banners, sections or individual elements.
Insert new element in WordPress page
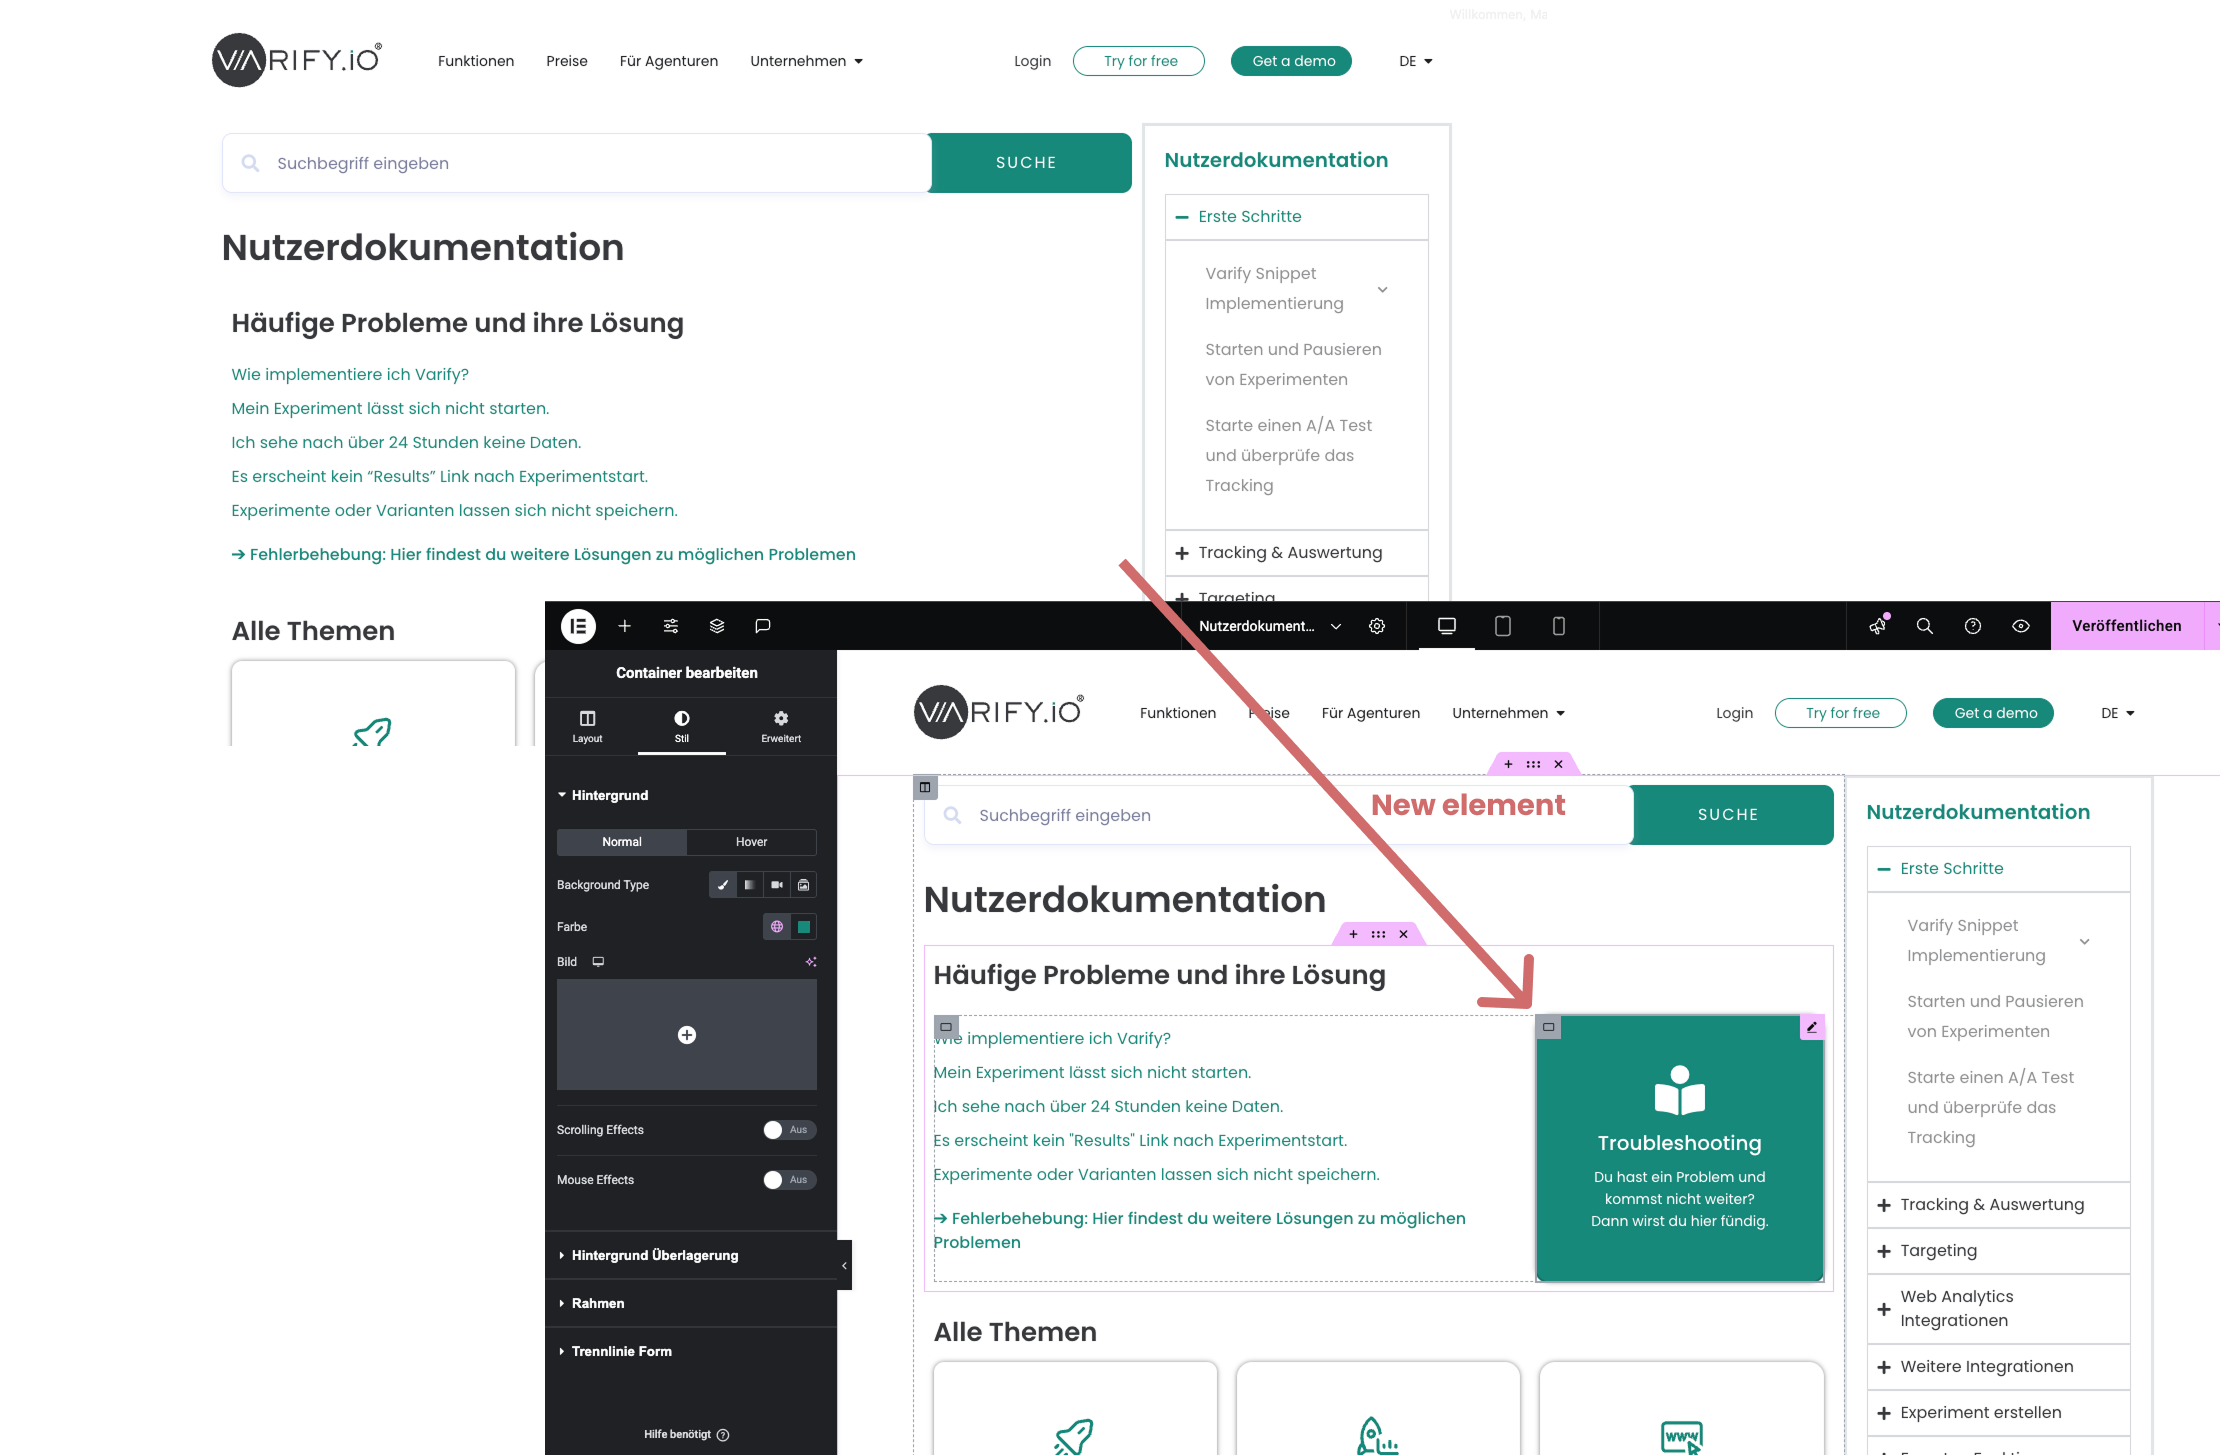
With Elementor in WordPress, you can easily create entire sections or blocks. You can create new elements or drag and drop a desired element (e.g. text, image or button) into existing areas of your page. You can then customize the content and design to suit your needs.
In this example, a tile for the troubleshooting area has been added to the top section of the page.
Assign a CSS ID to a new element
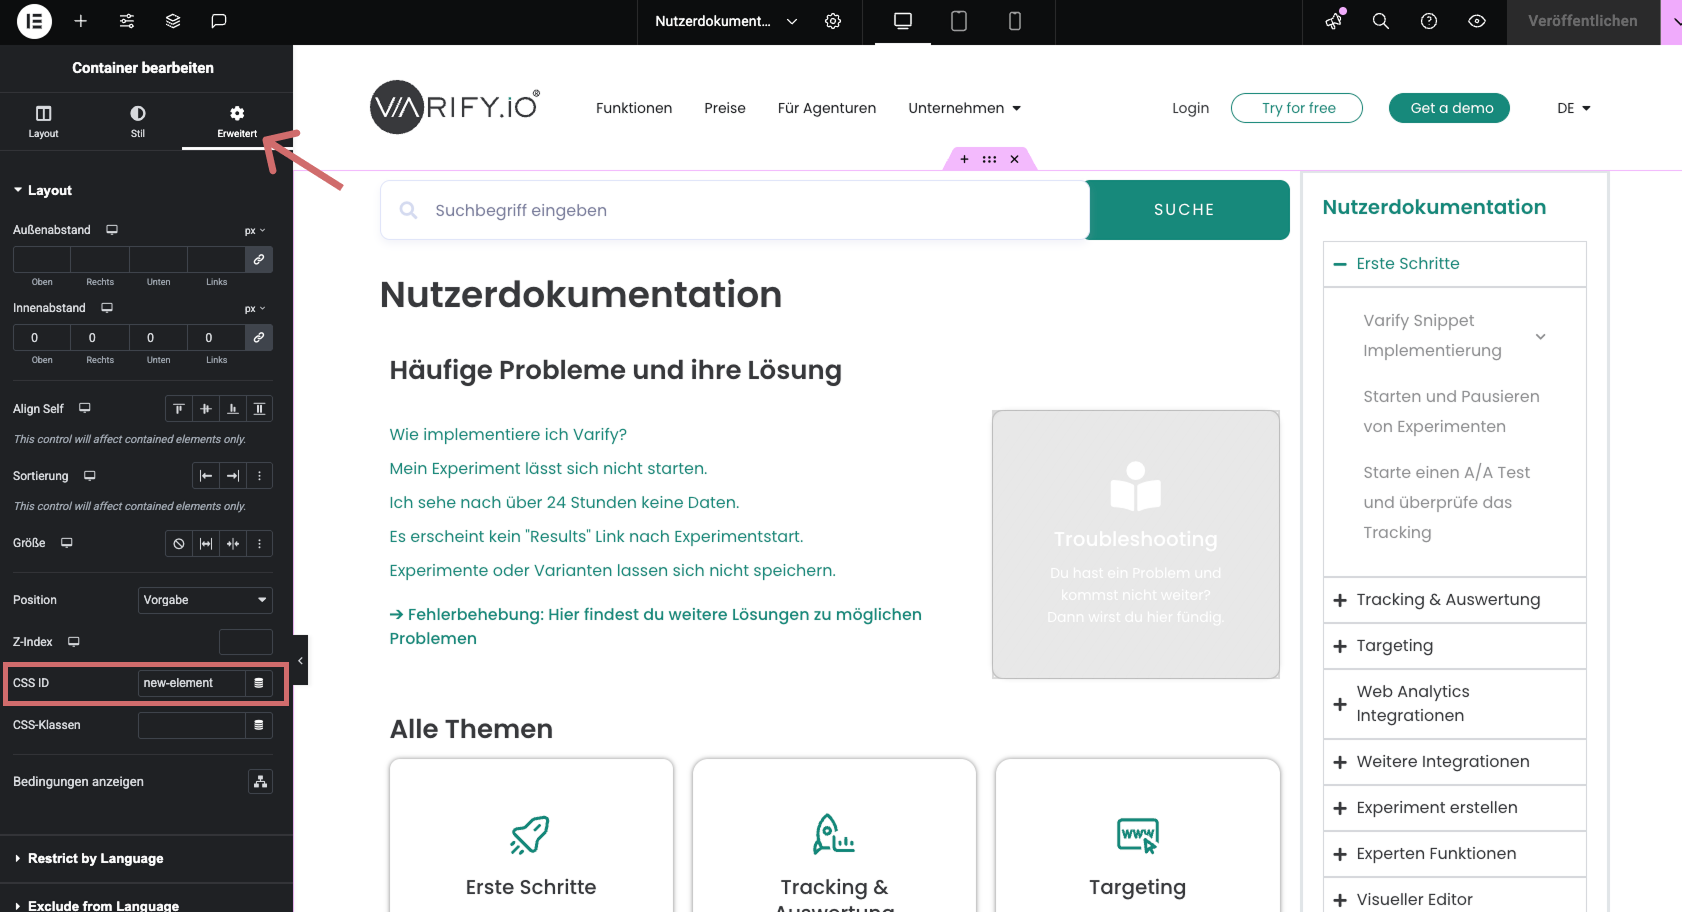
Select the element that you want to show later using Varify - this can be a new block, a column or just a single element. Click on it and go to the "Advanced" tab in the Elementor menu. There you will find the "CSS ID" field. Enter a unique ID here, e.g. "new-element".
Hide element
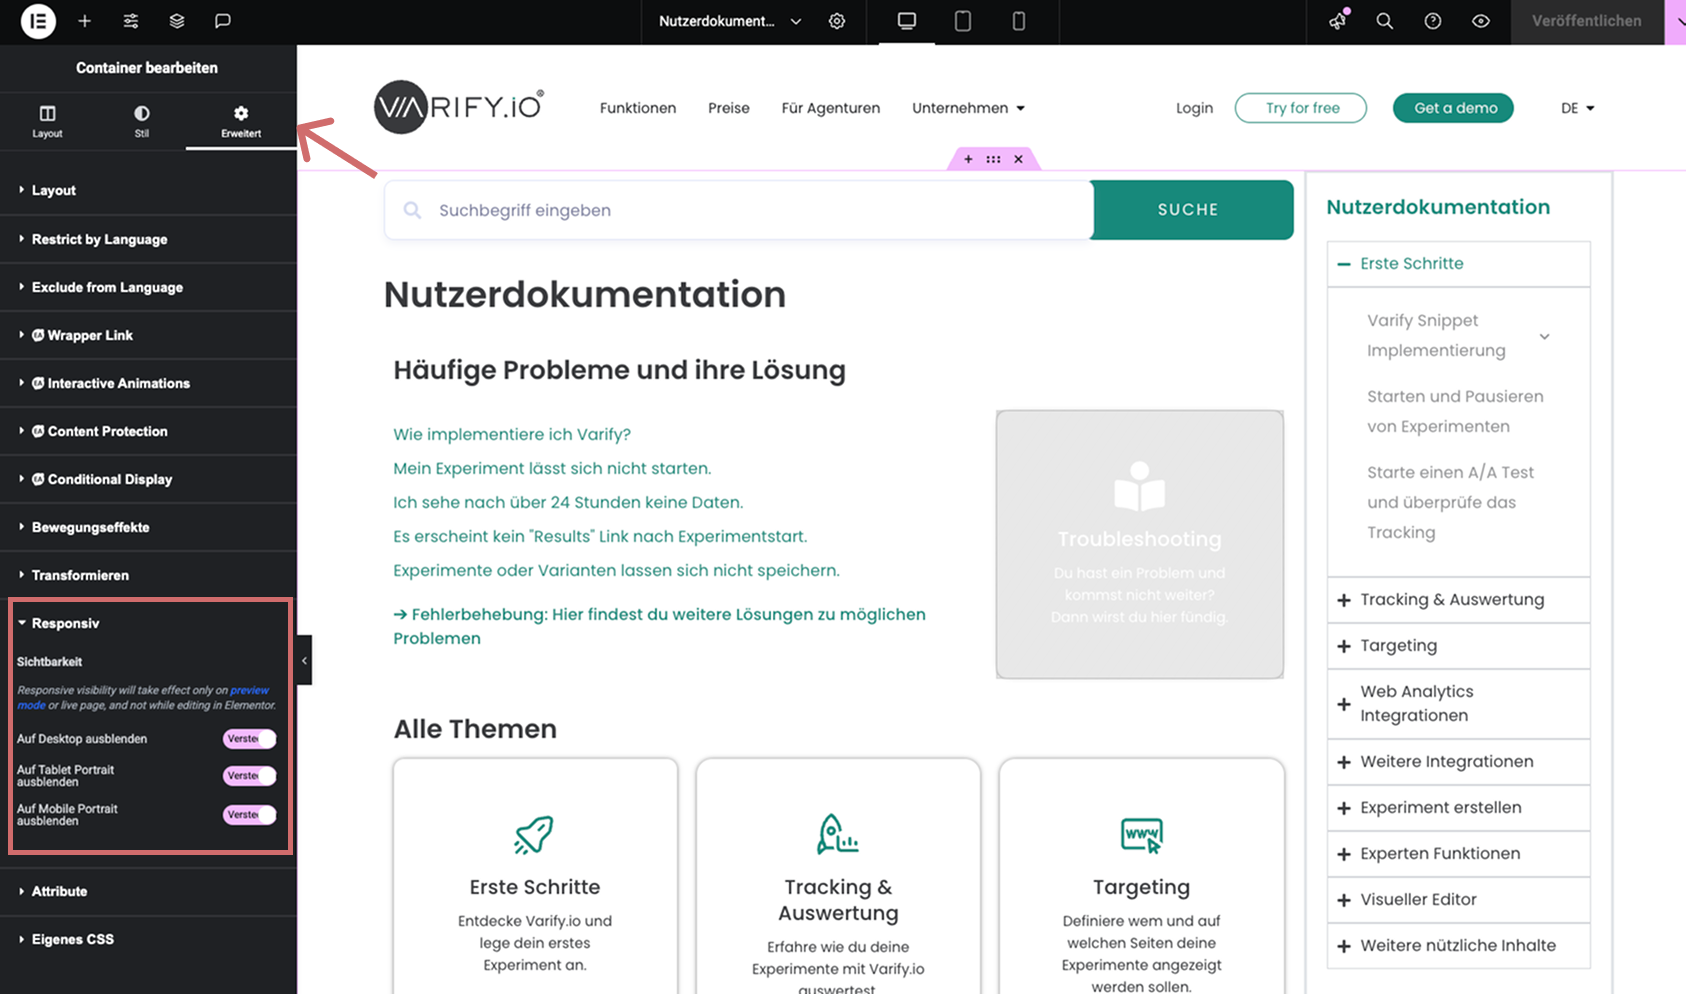
In the "Advanced" tab, switch to the "Responsive" section. Activate the three switches there to hide the element on desktop, tablet and smartphone. This allows you to publish your customizations without users already seeing the element.
Show element in via experiment
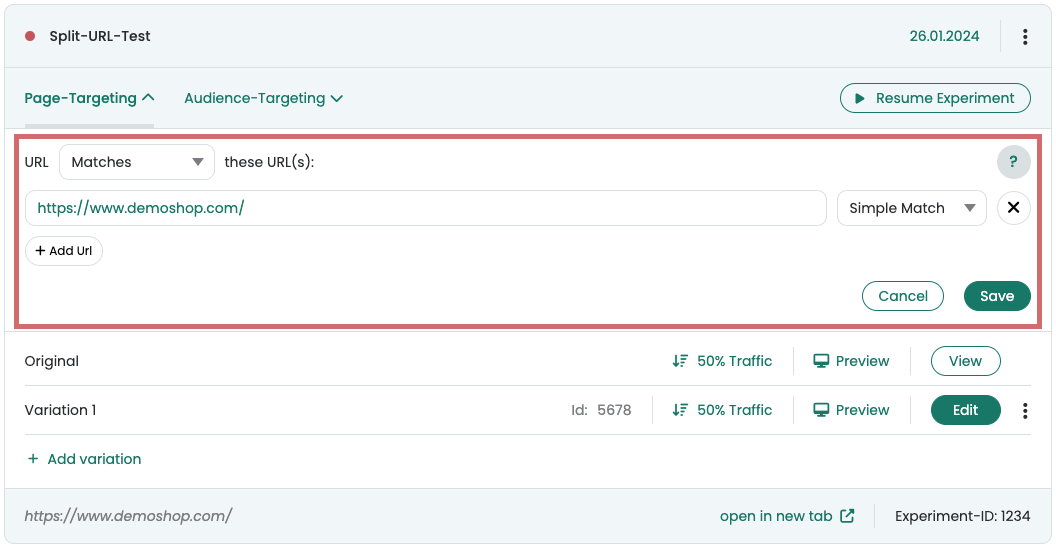
- Create a new experiment in Varify.
- Then click on the code symbol at the top right to go to the CSS area.
- You can enter this code there (adjust the ID if you have assigned a different name):
					#new-element{
display: block !important;
}
- Replace "new-element" with the ID that you have assigned in Elementor. The # character indicates that this is the ID. This must not be removed.
- Save the variant.
- Test the experiment to see if everything works as desired.
- Start the experiment
Optional: Hide other element
If you are testing a variation of an existing element and it is therefore present twice on the page, you should hide the original element as soon as the new element is displayed.
Procedure:
- Assign a unique ID to the original element in the CMS.
- Add the appropriate code to the CSS of the Varify variant, for example:
					#original-element{
display: none !important;
}
This ensures that only the new element is visible in the test variant.