GA4 - Cross-Domain Tracking
Table of contents
In short
Many companies have several websites that they want to track across domains. For example, products are advertised on a separate website, while the checkout takes place on another website.
Cross-domain tracking measures user sessions across multiple domains and provides a complete picture of the user journey. It is particularly indispensable for such scenarios, but often poses challenges.
This guide shows how cross-domain tracking can be set up easily and effectively in GA4.
What is cross-domain tracking?
Cross-domain tracking, combines user sessions across different domains into a single one. Without this function, users who switch from one domain to another are counted as separate sessions and users. In addition, conversion events (key events) cannot be assigned to a user across multiple domains.
Cross-domain tracking is indispensable for companies with separate checkout or booking platforms or for groups with several brands. It provides a clear overview of traffic, engagement and web performance.
It is particularly important for the evaluation of cross-domain A/B tests.
How to set up cross-domain tracking for GA4
Installation of cross-domain tracking in GA4
Setting up cross-domain tracking in GA4 is much easier compared to Universal Analytics, as the entire configuration is done within GA4. Here is a detailed guide on how to set up cross-domain tracking in just a few steps:
Step 1: Make sure that GA4 is installed on both websites
- Both websites must use the same GA4 property.
- Implement the GA4 tracking code either directly in the page source code (via
gtag.js) or via the Google Tag Manager (GTM). - Make sure that the GA4 code is correctly integrated on all pages and that the data is sent to the same property.
Step 2: Configure domains for cross-domain tracking
- Log in to your GA4 account and go to Admin.
- Choose from Data collection settings the point Data streams.
- Select the corresponding data stream (e.g. "Website stream").
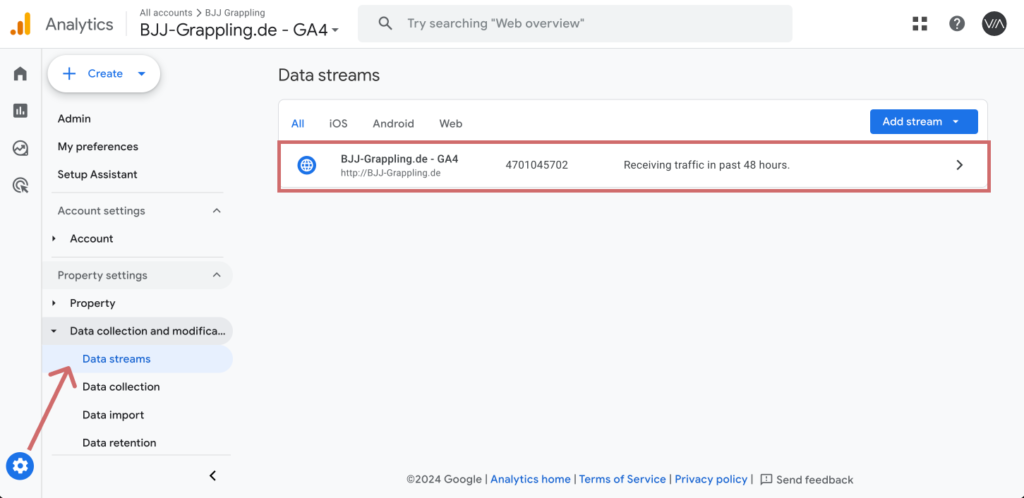
- Scroll down to Configure tag settings and click on it.
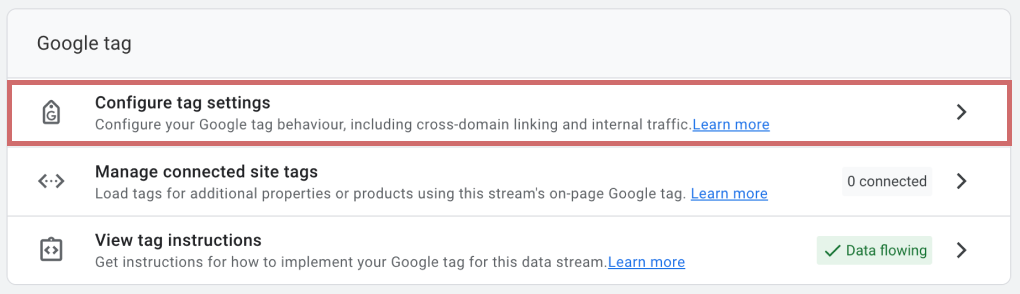
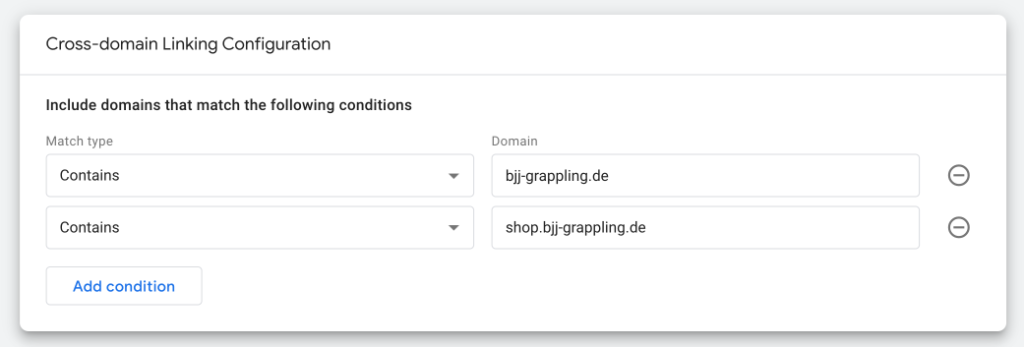
- Go to Configure your domains.
- Add the domains you want to track (e.g.
domain1.comanddomain2.com).
-
- Enter the URLs without a prefix such as
https://. - GA4 will automatically treat these domains as belonging together and link the data.
- Enter the URLs without a prefix such as
Step 3: Ensure URL parameters for user tracking
- GA4 uses the URL parameter
_glto transfer information such as client ID and campaign data when switching between domains. - This parameter is added automatically if cross-domain tracking is set up correctly.
- Check whether the
_gl-parameter appears in the URL when a user navigates between the two domains.
Step 4: Using Google Tag Manager (optional)
If you use Google Tag Manager, you can also set up cross-domain tracking there:
Adjust tags:
- Open the Google Tag Manager and go to Tags.
- Select the GA4 configuration tag that is used on both domains.
- Go to the advanced settings and activate Automatic link tagging under Cross-domain tracking.
- Add the domains that are to be linked.
Check trigger:
- Make sure that your tags are configured so that they are triggered on all relevant pages (e.g. "All pages").
Activate preview mode:
- Test your setup in the Tag Manager preview mode. Navigate between the domains and check whether the
_gl-parameter is transferred correctly.
- Test your setup in the Tag Manager preview mode. Navigate between the domains and check whether the
Step 4: Test and check
Navigate between the two domains and check in GA4:
- Are sessions and users tracked consistently across both domains?
- Is the traffic correctly assigned and not displayed as "referral traffic" between the two domains?
The navigation between the domains should appear seamless in the reports.
Advantages of cross-domain tracking with GA4
With cross-domain tracking in GA4 you can:
- Trace the user path across multiple domains.
- Correctly aggregate sessions, conversions and events.
- Ensure that Analytics reports are not distorted by incorrect referrals or duplicate sessions.