Start an A/A test and check the tracking
Table of contents
In short
Basically, it makes sense to set up an A/A test before you start "real" experimenting. This way you can check that the data enters your web analytics tool correctly and that all your metrics are distributed roughly equally.
Step-by-Step Tutorial
Check tracking with an A/A test
Setting up an A/A test
Create a new variation/experiment by opening, for example, the home page of your website via the Varify.io dashboard.

In order for you to save a variation, you have to do any change with the editor. However, since we want to show the same variation twice in an A/A test, they must not have any visible changes for the visitor.
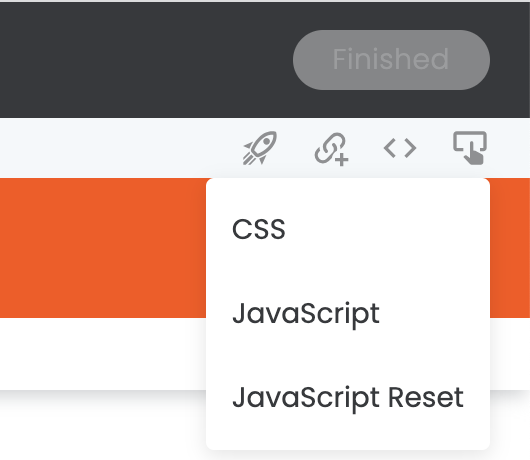
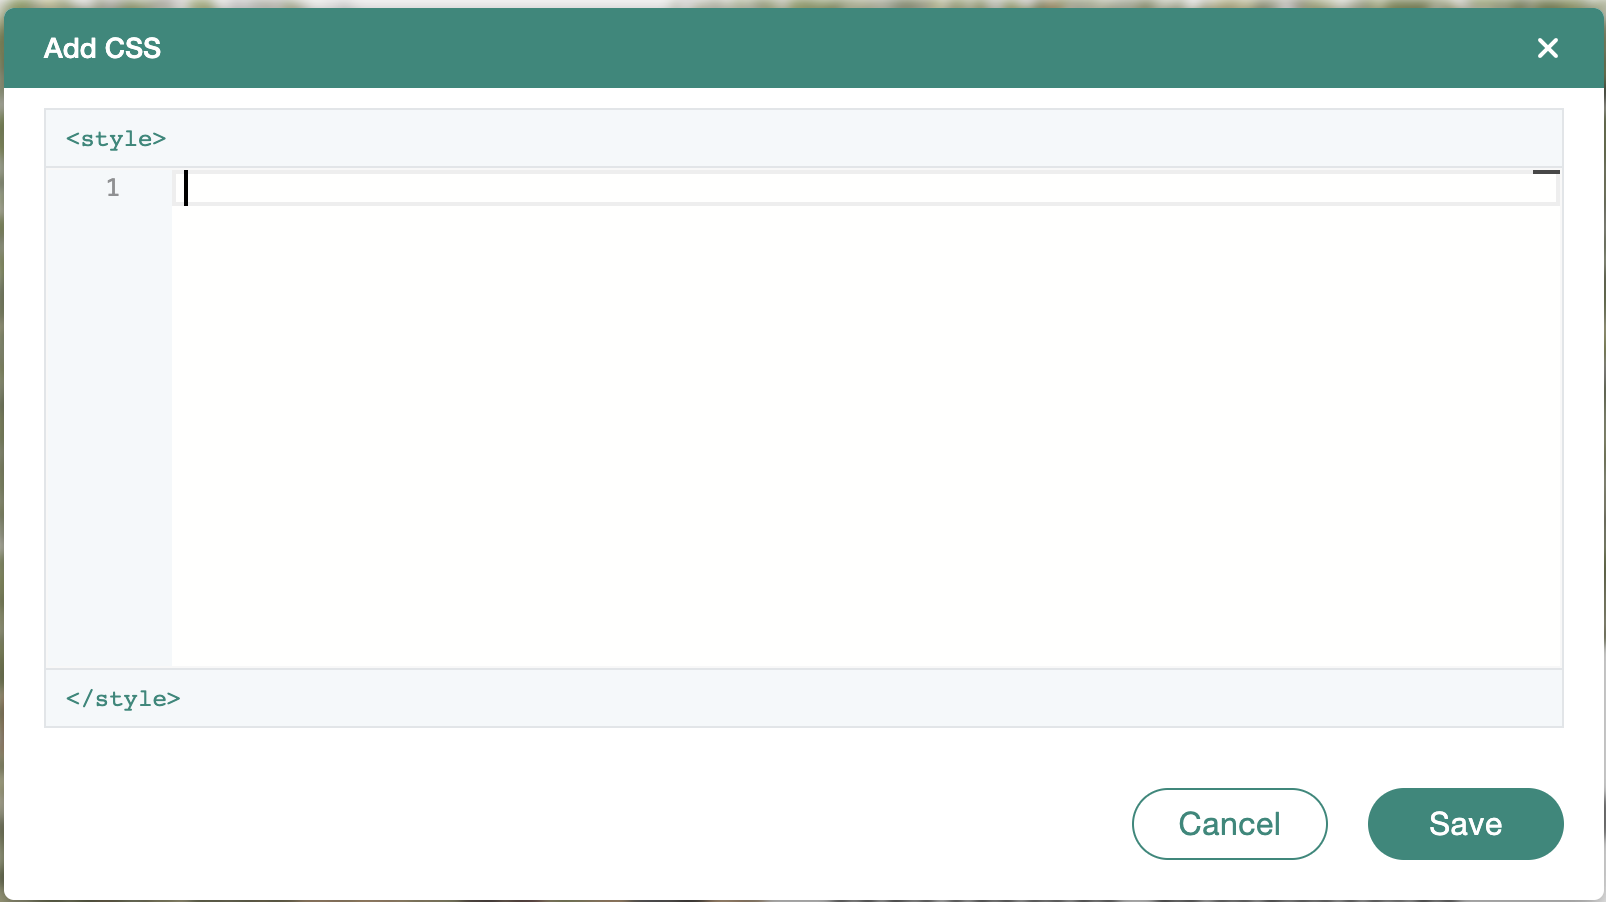
So that you do not integrate a visible change for the visitor, you can add for example a whitespace in the CSS field and then save.


Then save the variation by clicking on "Finished" in the upper right area of the editor. You can now give your variation a name of your choice, for example A/A Test. Then click on save. The variation will now appear at the top of your Varify.io® dashboard.
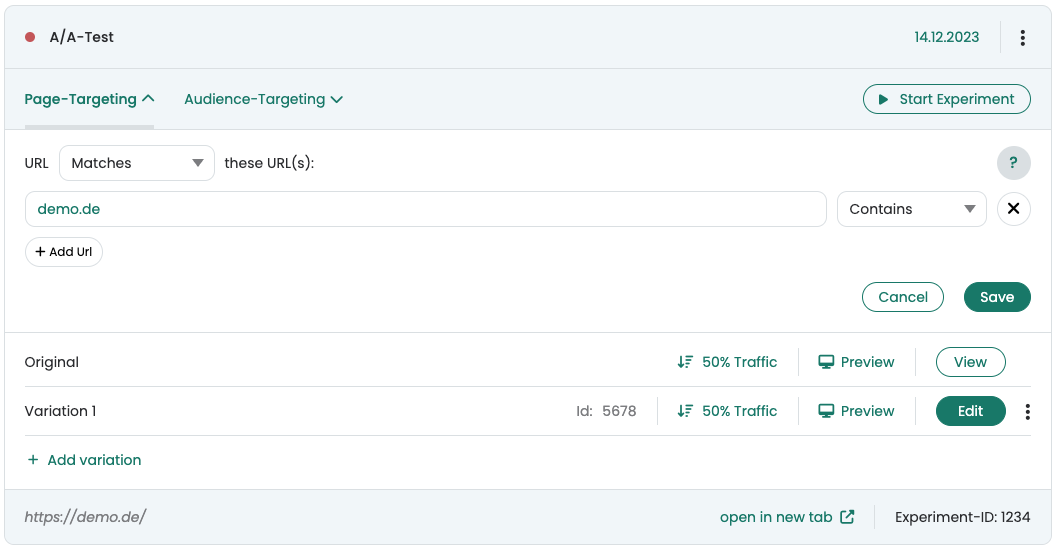
Now start the experiment by first defining a page targeting. Enter your URL here and set the matching type to "Contains". This way, the A/A test is displayed on all pages and collects the most data.
Then click on "Start experiment".

Congratulations! You have now started your first A/A test. The experiment is now live. You can now click on the points under the "Tracking & evaluation" section so that the data can also be entered into your web analysis system.