Migration to the Tracking Setup Wizard
Table of contents
In short
The new Tracking Setup Wizard your existing tracking will continue to work. However, you have the option of changing your Tracking settings about it.
A new addition is a Fully automated solution. If you use these, you should update your existing Deactivate tracking tag in GTMto avoid double data entry.
For the Manual tracking setup the setting "Start Tracking on Activation Event" supplemented. If you use these, adjustments in the Google Tag Manager (GTM) required to ensure correct data collection in GA4 ensure.
Important: These adjustments are only necessary if you want to change your existing setup.
What has changed?
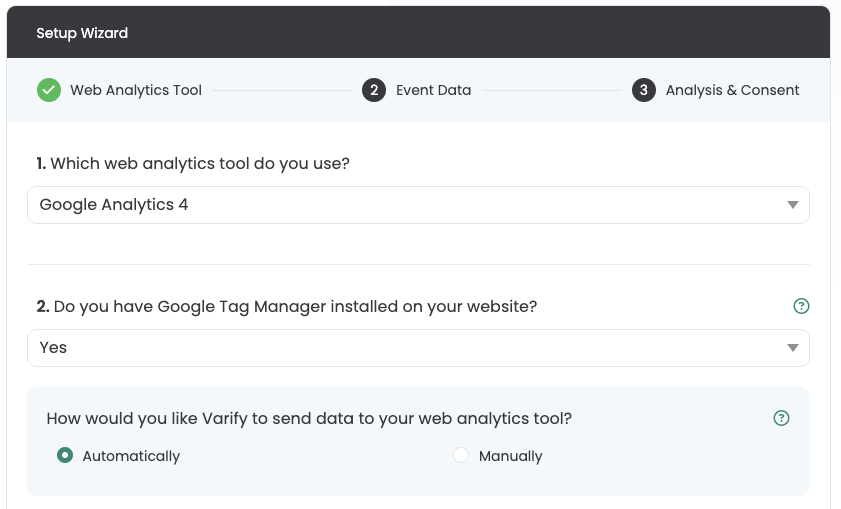
With our new Tracking Setup Wizard it has never been so easy, Varify with your tracking tool. As already mentioned, this mainly affects accounts that have not yet completed their tracking. 11.02.2025 have not yet been set up.
If you have already set up your tracking, you can still set it up via the Tracking Wizard customize. There are a few points to bear in mind - depending on whether you want to use the manual or automatic setup.
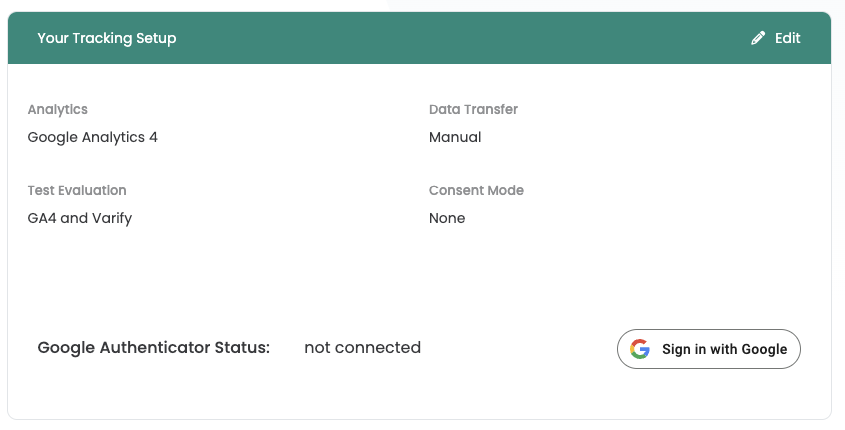
You will receive an overview of your current tracking setup. You can adjust your setup accordingly via "Edit".
Switch to the automatic tracking setting
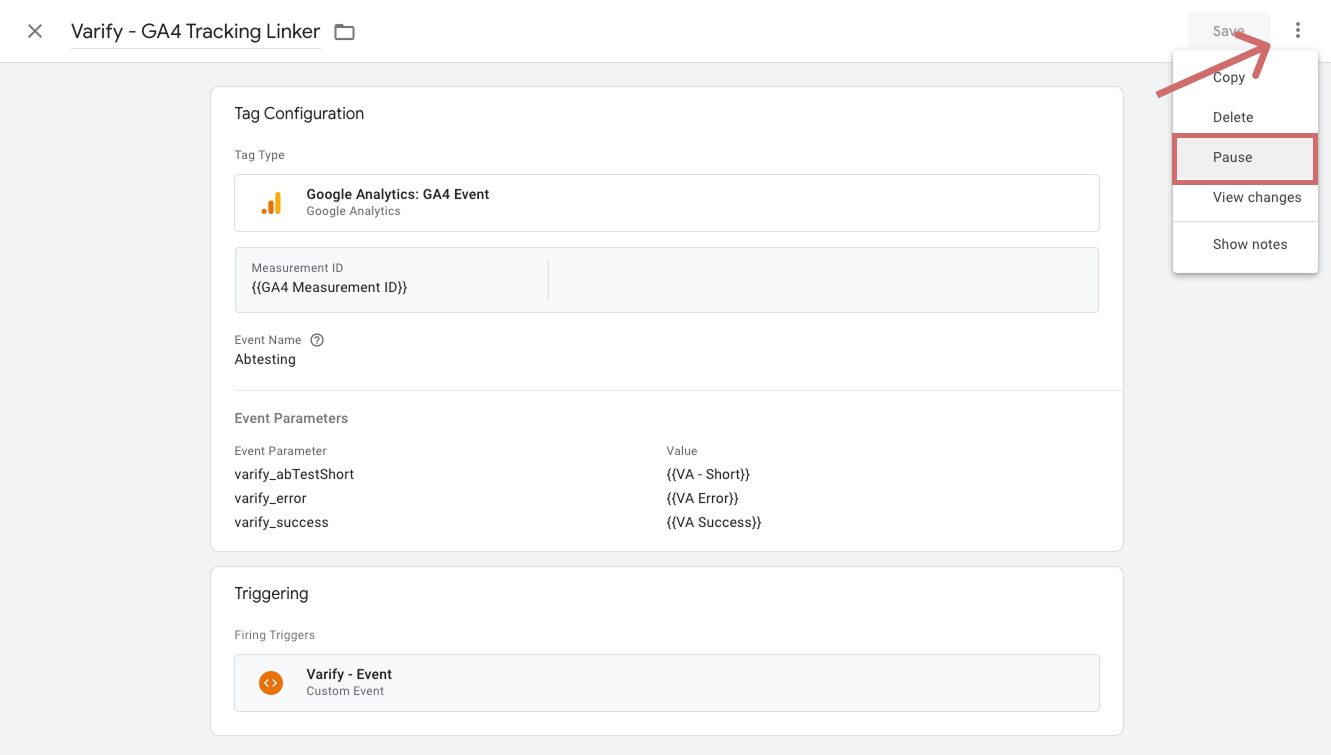
All existing setups are set to manual after the changeover. If you want to switch to automatic integration here, you must pause or remove the Varify GA4 Tracking Linker Tag in Google Tag Manager. Otherwise, events will be sent to GA4 twice.
Pause tracking left tag
1. go to the Varify.io - GA4 Tracking linker tag
2. click on the three dots at the top right
3. select "Pause"
4. publish the customized GTM container
Switch to the manual tracking setting
As your existing setup has already been set up manually, it is a good idea to go to the Tracking Wizard also the manual setting. However, there is one important feature of the setting "Start Tracking on Activation Event".
This setting determines when Varify events in the DataLayer and thus when they are executed via the Google Tag Manager (GTM) an GA4 be sent.
As you already have an existing setup, this setting is set to "No" set. We recommend that you set them to "Yes" to change. This allows you to flexibly determine whether your data with or without user consent an GA4 be sent.
However, this requires additional adjustments to the Google Tag Manager required so that your data can continue to be sent correctly to GA4 be transferred.
Adjustments in Google Tag Manager
Sending data with user consent
You can send the experiment data to GA4 with or without user consent. If Google Analytics 4 already only sends data via User Consent, you should also only send the Varify data via User Consent. You can find out how this works here: Sending data with user consent
Sending data without user consent
The following steps describe how to send the data to GA4 without user consent.
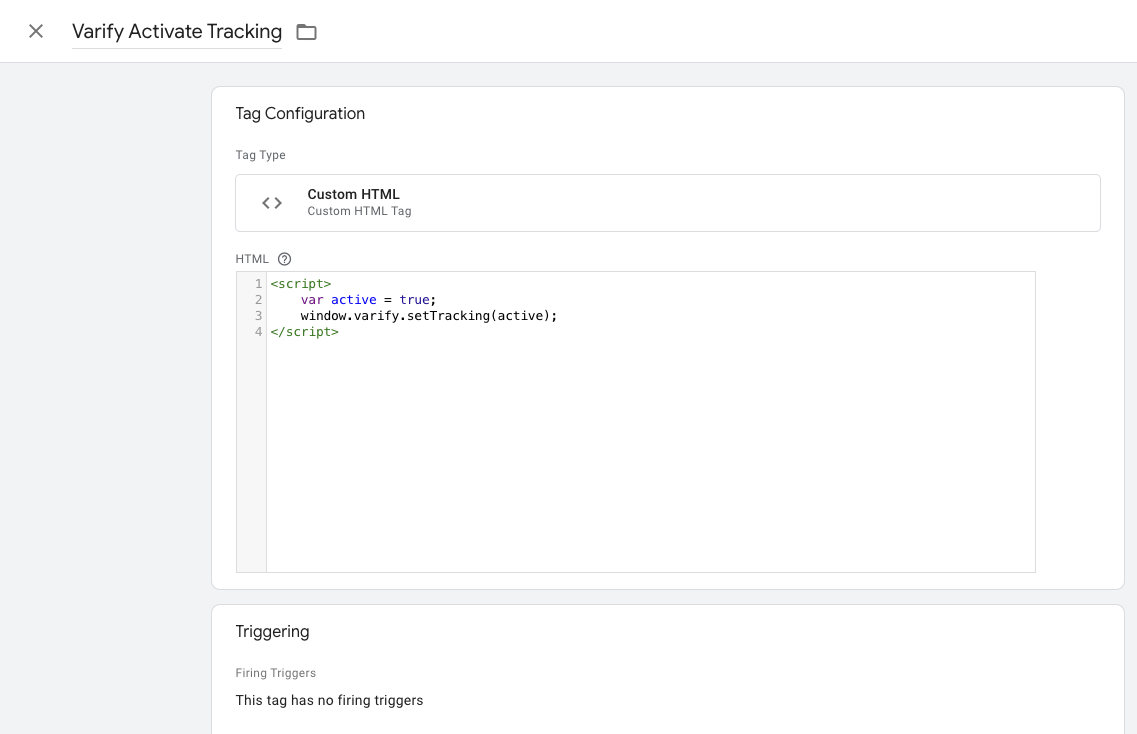
1. create a new custom HTML tag in GTM
1. go to Tags in the Google Tag Manager and click on New. Now create a new custom HTML tag here.
2. name the tag: "Varify Activate Tracking"
3. paste the following code into the HTML field:
4. save the tag. Confirm that the day without trigger is to be saved.
					<script>
    var active = true;
    window.varify.setTracking(active);
</script>
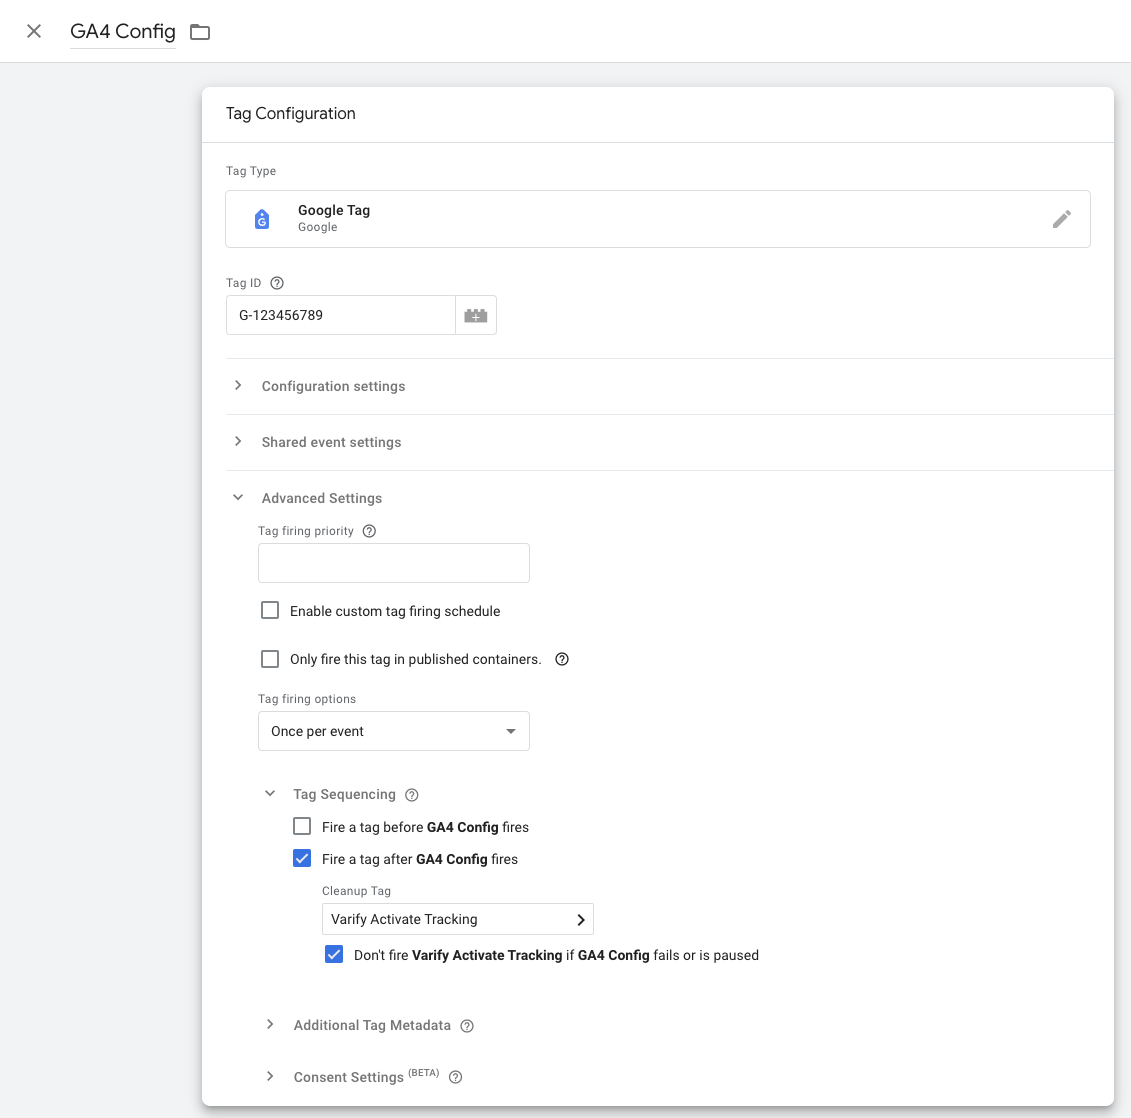
2. customize Google Tag configuration tag
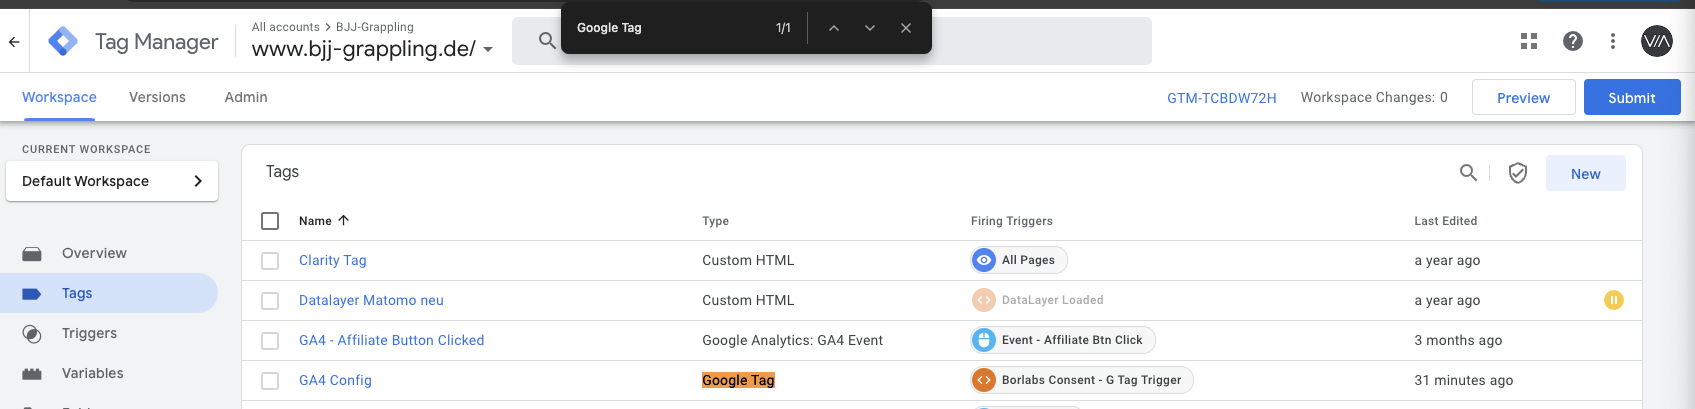
1. now go to your GA4 configuration tag and open it. Note: The easiest way to find it is to navigate to your tags and search for "Google Tag" with Ctrl+F
2. click in the Tag Configuration area and select Advanced Settings and Tag Sequencing.
3. now click on "Fire a tag after GA4 Config (The GA4 config tag) fires"
4. select the Varify Active Tracking Tag you have just created.
5. click on the tick below "Don't fire Varify Activate Tracking if GA4 Config fails or is paused"
6. save the tag customization
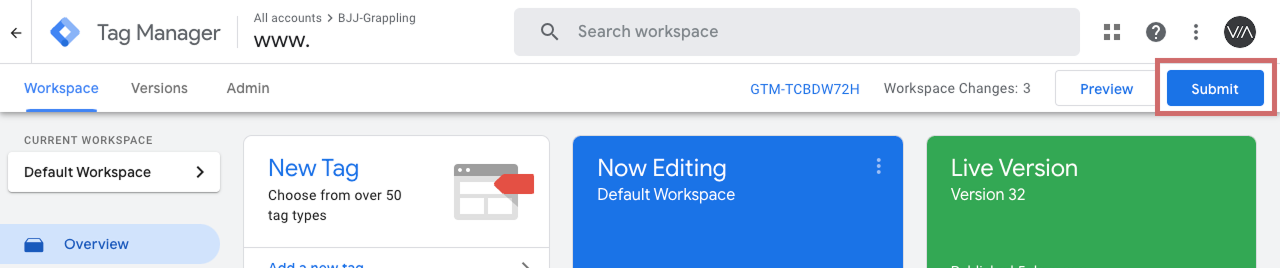
3. publish GTM Container
To ensure that your adjustments in Google Tag Manager also work on your website, it is important to publish the changes.
To do this, go to "Overview" in the Tag Manager on the left. Here you can see an overview of all the elements you have just created.
To publish, click on the blue "Publish" button at the top right and confirm. The tag is now live and sends the data to your Google Analytics.