Test modules for your Shopify Store for free
powered by Sectionheroes.de
Table of contents
In short
Our partner Sectionheroes offers ready-made plug-and-play modules for your Shopify store. The big advantage: You can integrate new elements into your store without developer support, which motivates more visitors to buy from you.
Exclusively at Varify.io®, you now have the opportunity to test the effectiveness of these modules in advance using A/B tests. In this article, we will show you which modules are available and how you can carry out a successful A/B test with them.
Disclaimer:
The Shopify modules are provided to you free of charge for your A/B tests. If you want to use them permanently in your store after the test, you can purchase them from Sectionheroes at a reasonable price. You also support Sectionheroes in their work by sharing your test results with them anonymously.
1. open a product page with the Varify.io® Editor
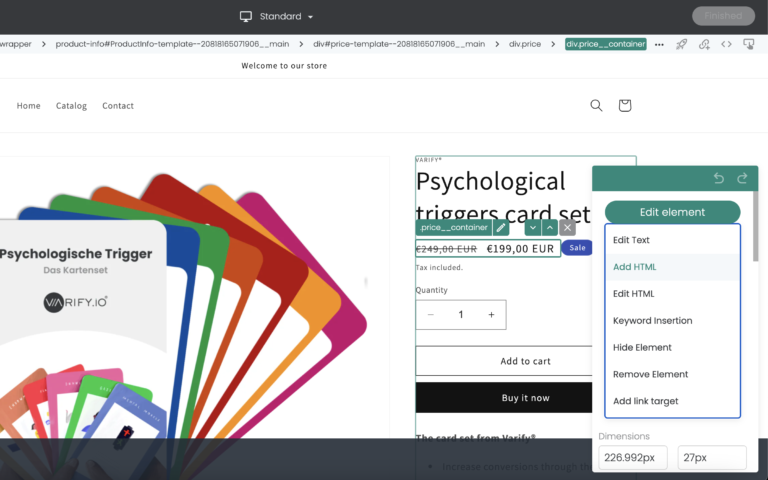
Open one of your product pages with the Varify.io® Editor. You can now decide where you want to add a module. Click on the element above the selected position and then select "Add HTML" as the function

2. select your module
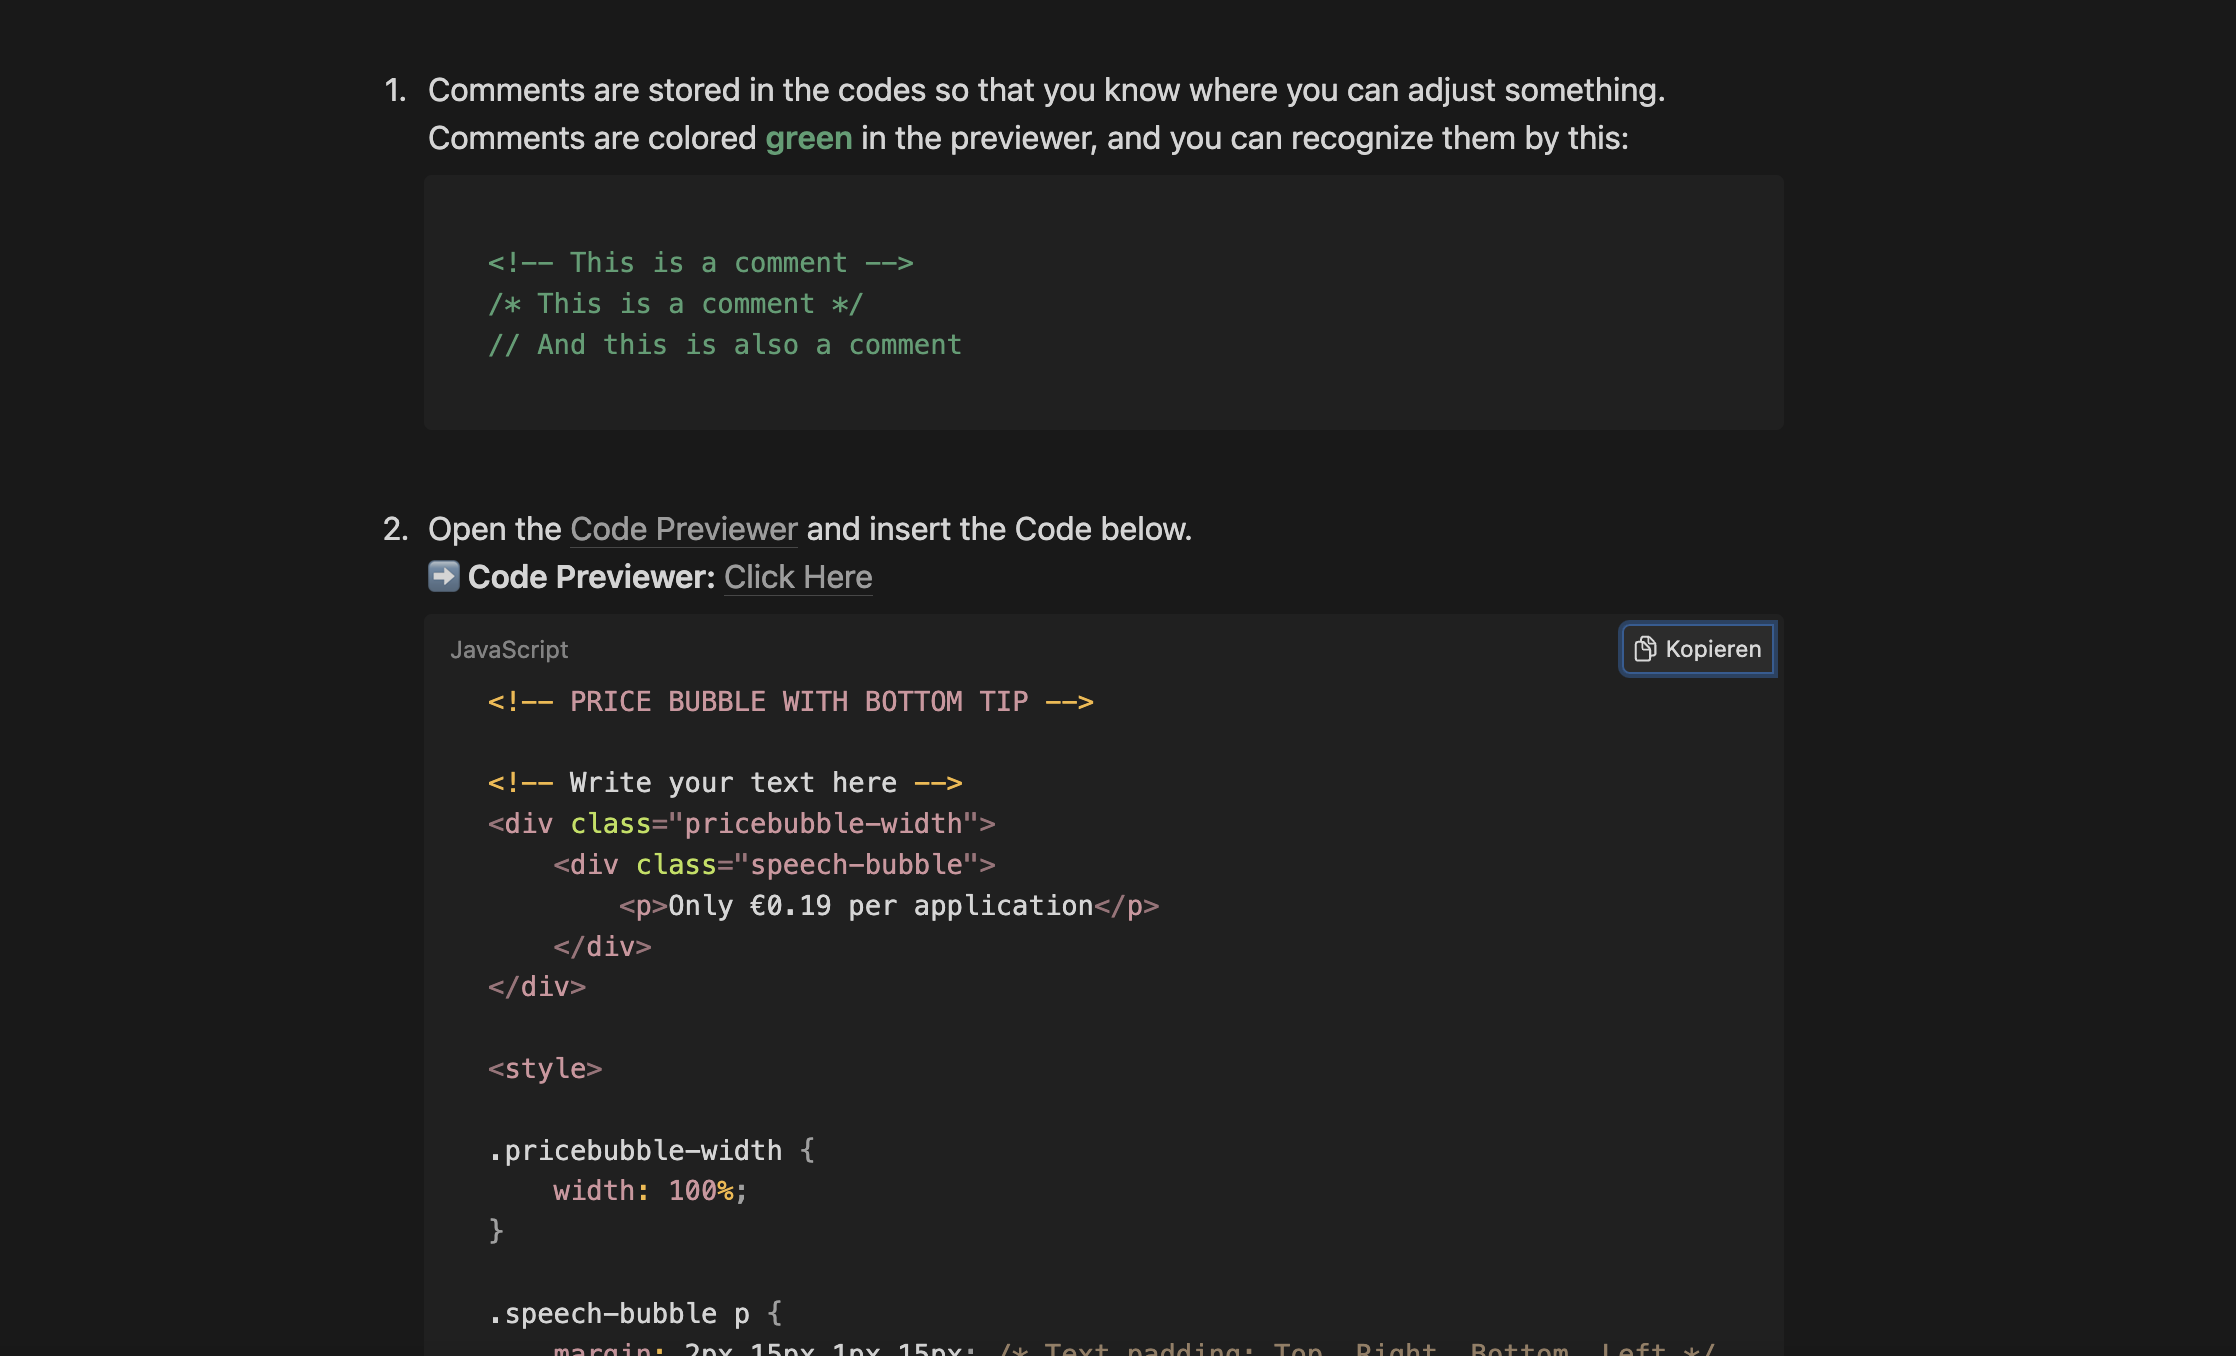
Visit the Sectionheroes database and select a module that you would like to test. Copy the code and adjust properties such as colors or texts directly. You can do this quickly and efficiently using the "Code Previewer". The code contains comments and notes that show you where adjustments can be made.

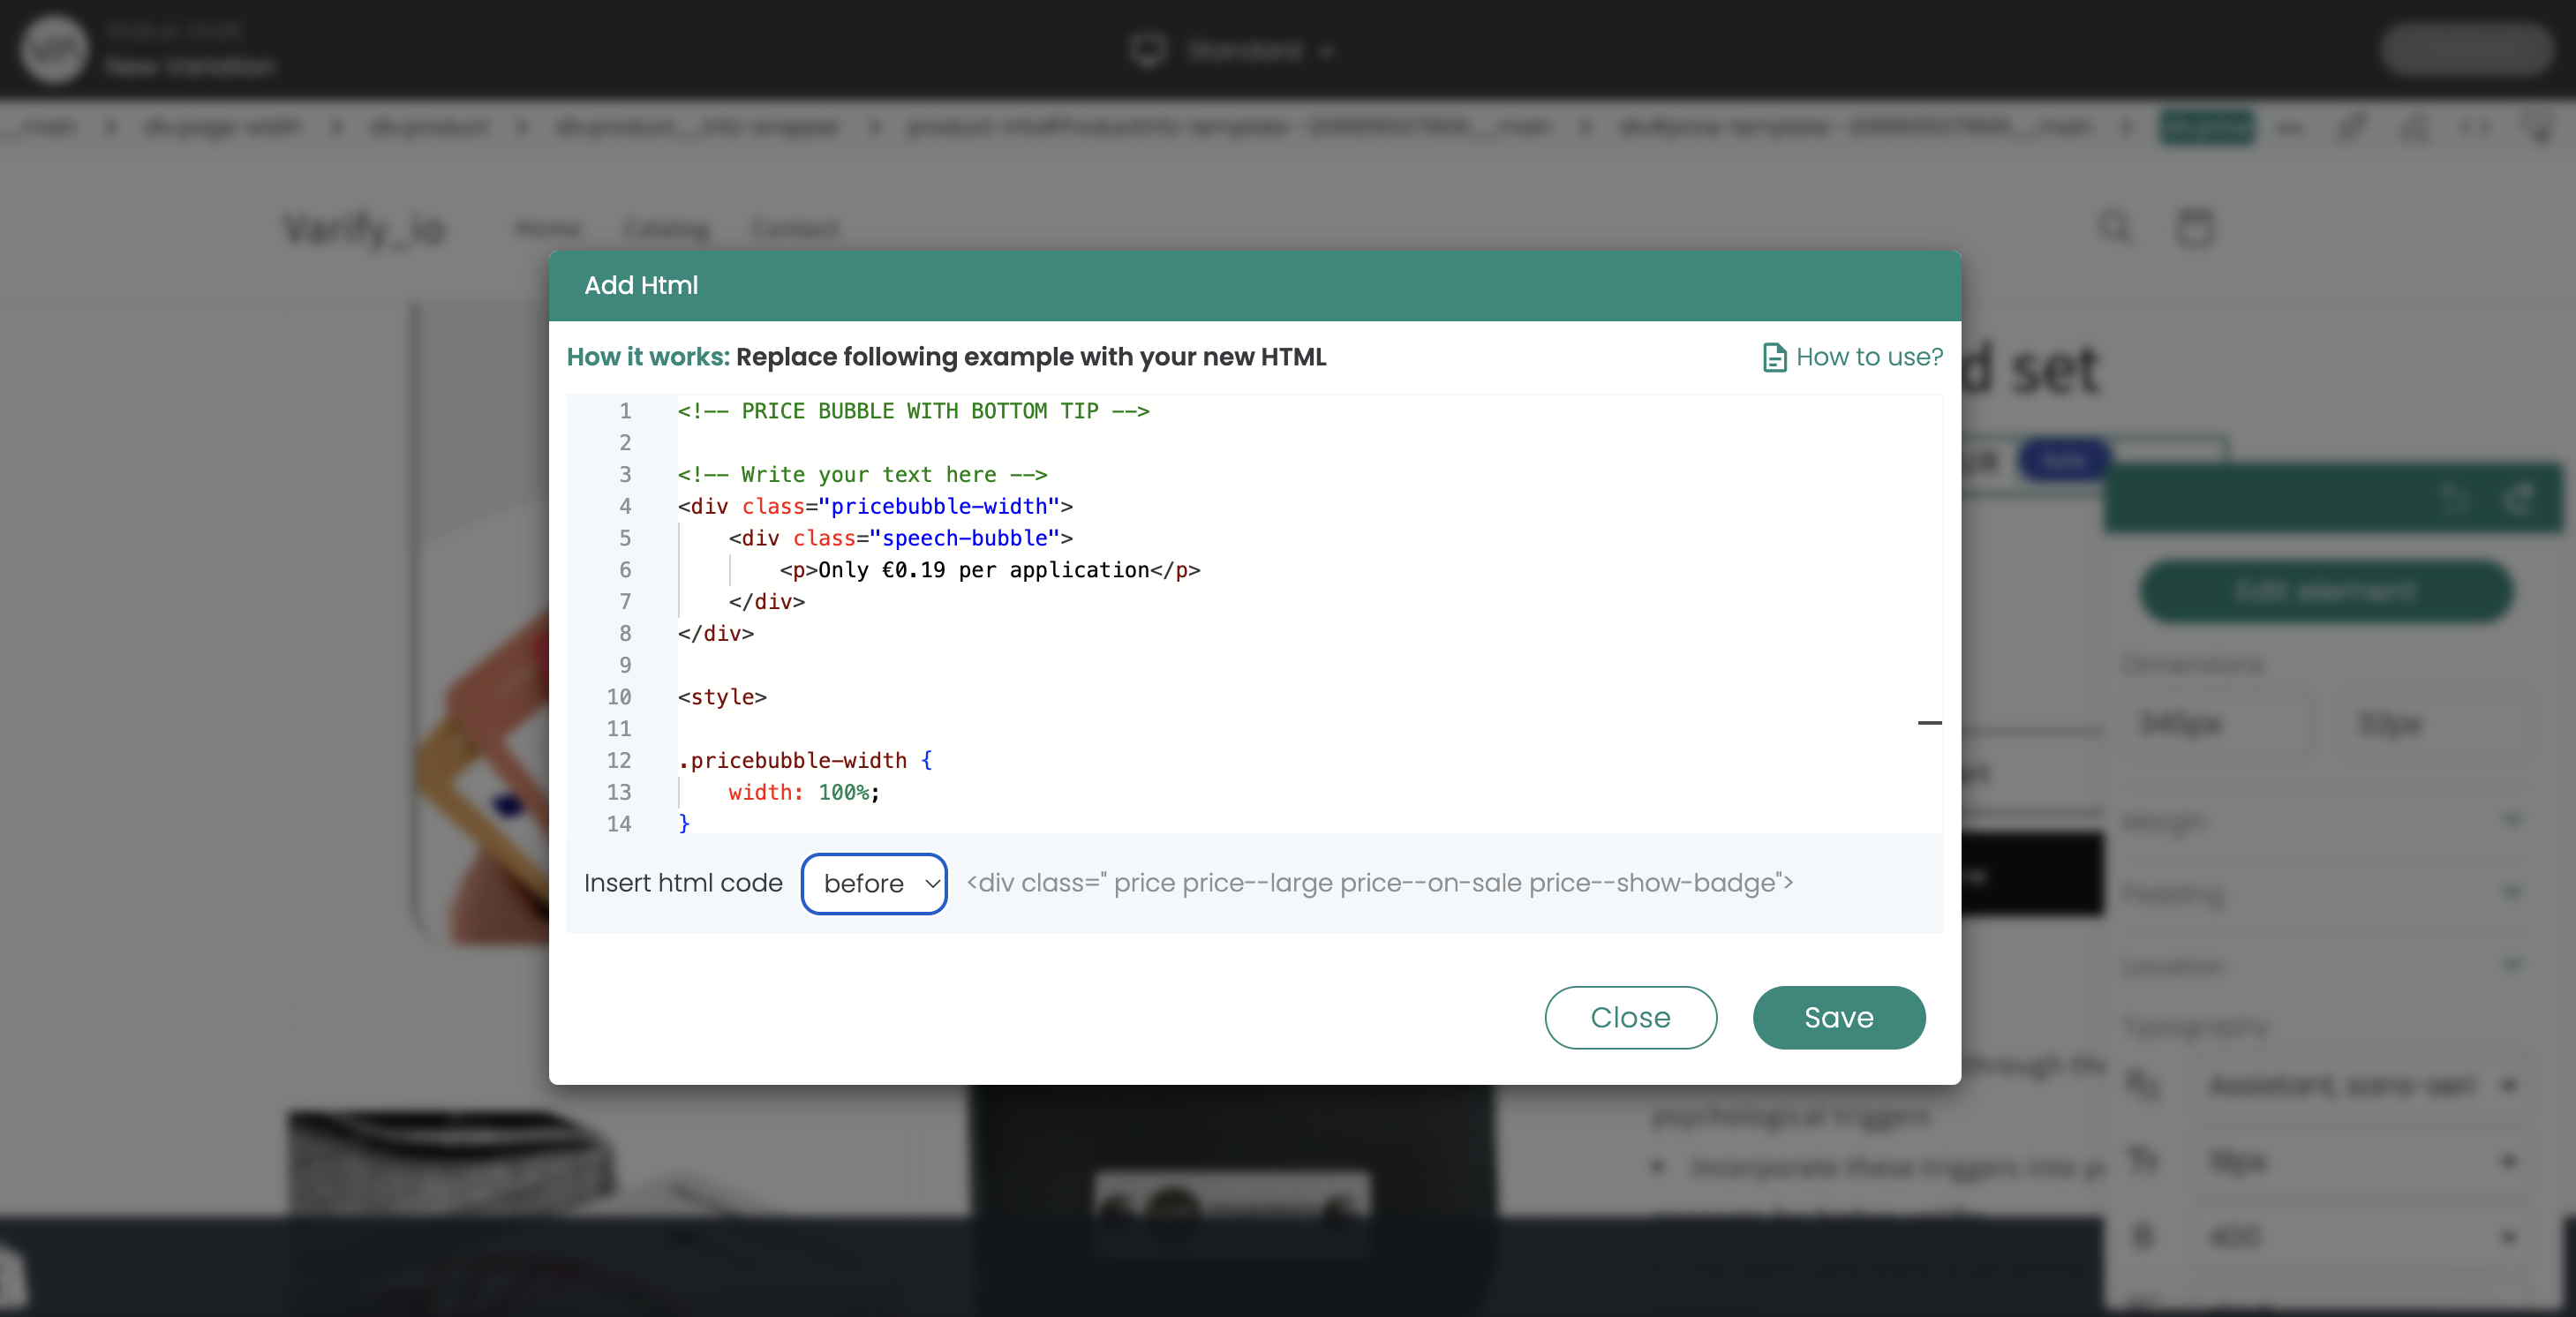
If you are satisfied, you can now add the code to your variant using the "Add HTML" function. Select whether the element should be placed before or after the element you have selected.

3. save and check the variant
Finally, you can save your test variant by clicking the "Finished" button. Give the experiment a suitable name and you will be redirected to the dashboard. Now you should use the "preview" link next to the variant to check whether the variant meets your expectations on different devices and in different browsers.

4. targeting and start of the experiment
Set your page targeting and, if required, your audience targeting. Check carefully that all settings meet your requirements. Now you can start the experiment and you will soon see the impact of the variant. Don't forget to check the results regularly. We wish you every success!
First steps
Tracking & Evaluation
- Tracking with Varify.io
- GA4 reporting in Varify.io
- Segment and filter reports
- Audience-based evaluation in GA4
- Segment-based evaluation in GA 4
- Matomo - Results analysis
- etracker evaluation
- Calculate significance
- User-defined click events
- Evaluate custom events in explorative reports
- GA4 - Cross-Domain Tracking
Web analytics integrations
Further integrations
Create experiment
Expert functions
Visual editor
- Campaign Booster: Arrow Up
- Campaign Booster: Exit Intent Layer
- Campaign Booster: Information Bar
- Campaign Booster: Notification
- Campaign Booster: USP Bar
- Add Link Target
- Browse Mode
- Custom Selector Picker
- Edit Content
- Edit Text
- Move elements
- Hide Element
- Keyword Insertion
- Redirect & Split URL Testing
- Remove Element
- Replace Image
- Responsive Device Switcher
- Style & Layout Changes
Further useful content
Powered by Sectionheroes.de