Move elements
Table of contents
In short
With the "Move elements" function, you can easily move an element on your website. Click on the element and move it using the corresponding arrow icons that appear above the element.
How to use the function
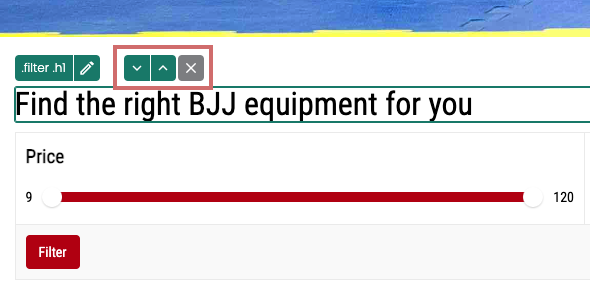
Click on an element in the Varify.io editor that you want to move. The selected element is framed. Above the frame you will find an "arrow up" and an "arrow down".
You can move elements within a group. This means that if you want to swap the element with the next element, click on the down arrow. If you want to move the element one position earlier, click on the up arrow.
Depending on which element or element container (div) is clicked, the element moves horizontally or vertically within the parent element.

Move elements horizontally
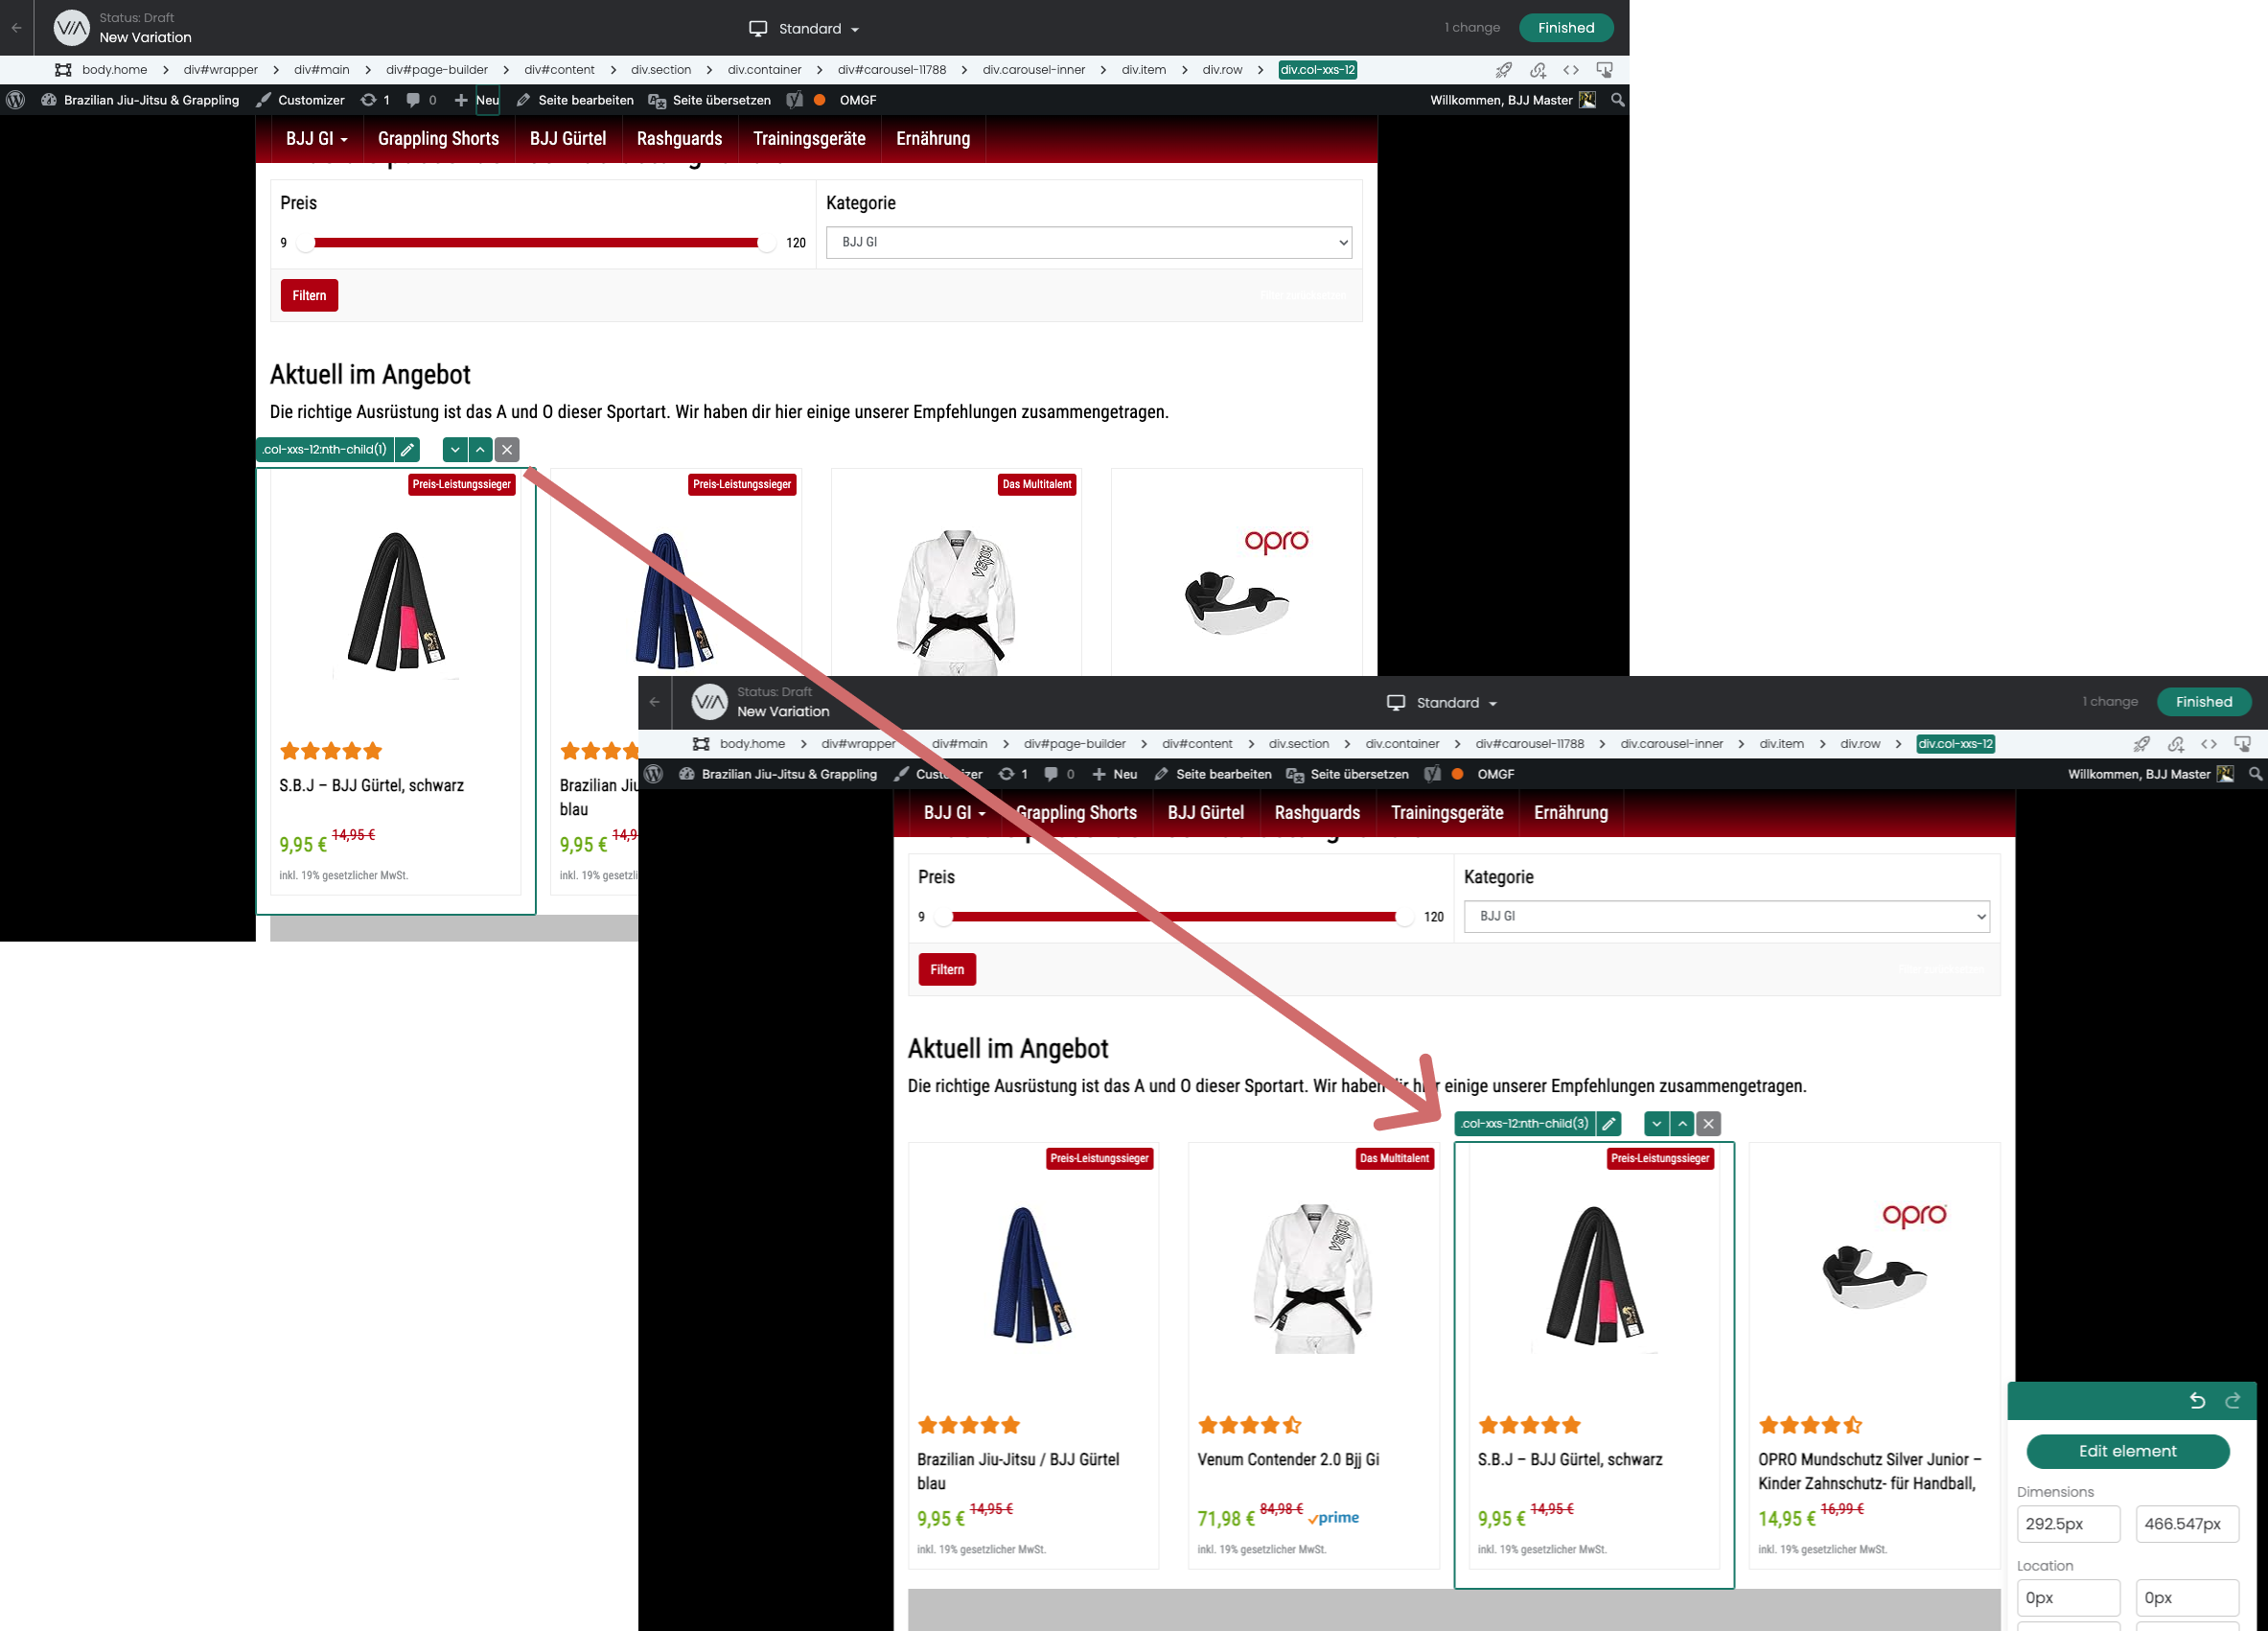
If the selected element is located in a container (div) in which there are other blocks to the right or left of it, the element is moved horizontally to the right or left accordingly.
The element can be moved to the right or left until it has reached the start or end of the container.
Important: The element is only moved within its own container.
In this example, the black belt is moved to the third position of the product slider.

Move elements vertically
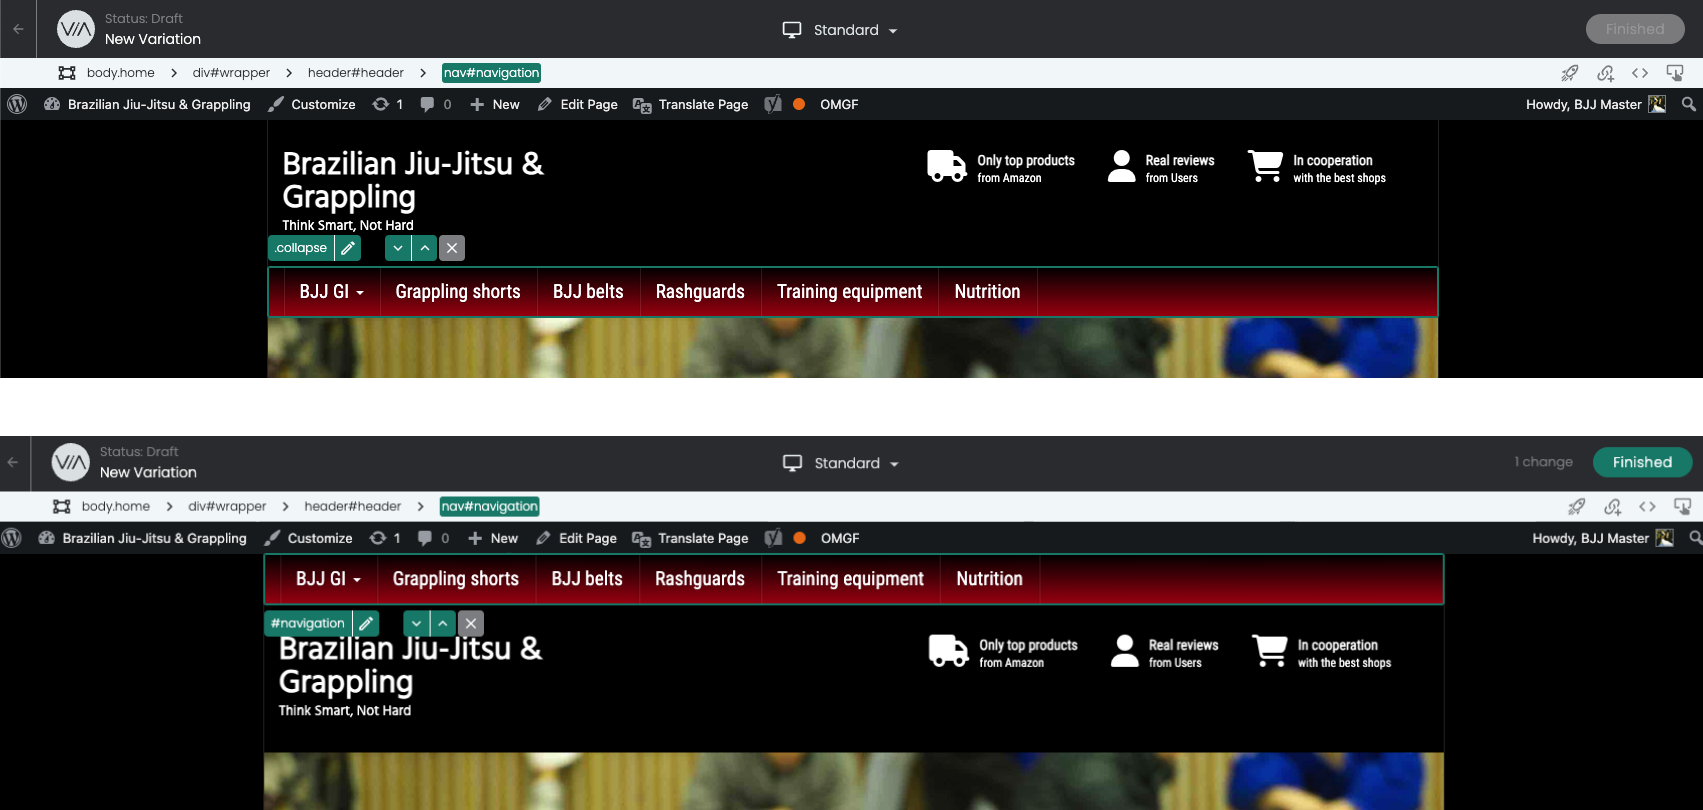
If you move an element or a container that spans the entire width of the page, for example, or if there are no other containers in the same parent container to the right or left of it, it will be moved vertically up or down.
Important: The element is only moved within its own container.
In this example, the container for the navigation has been selected and moved to the top.

Select the right element
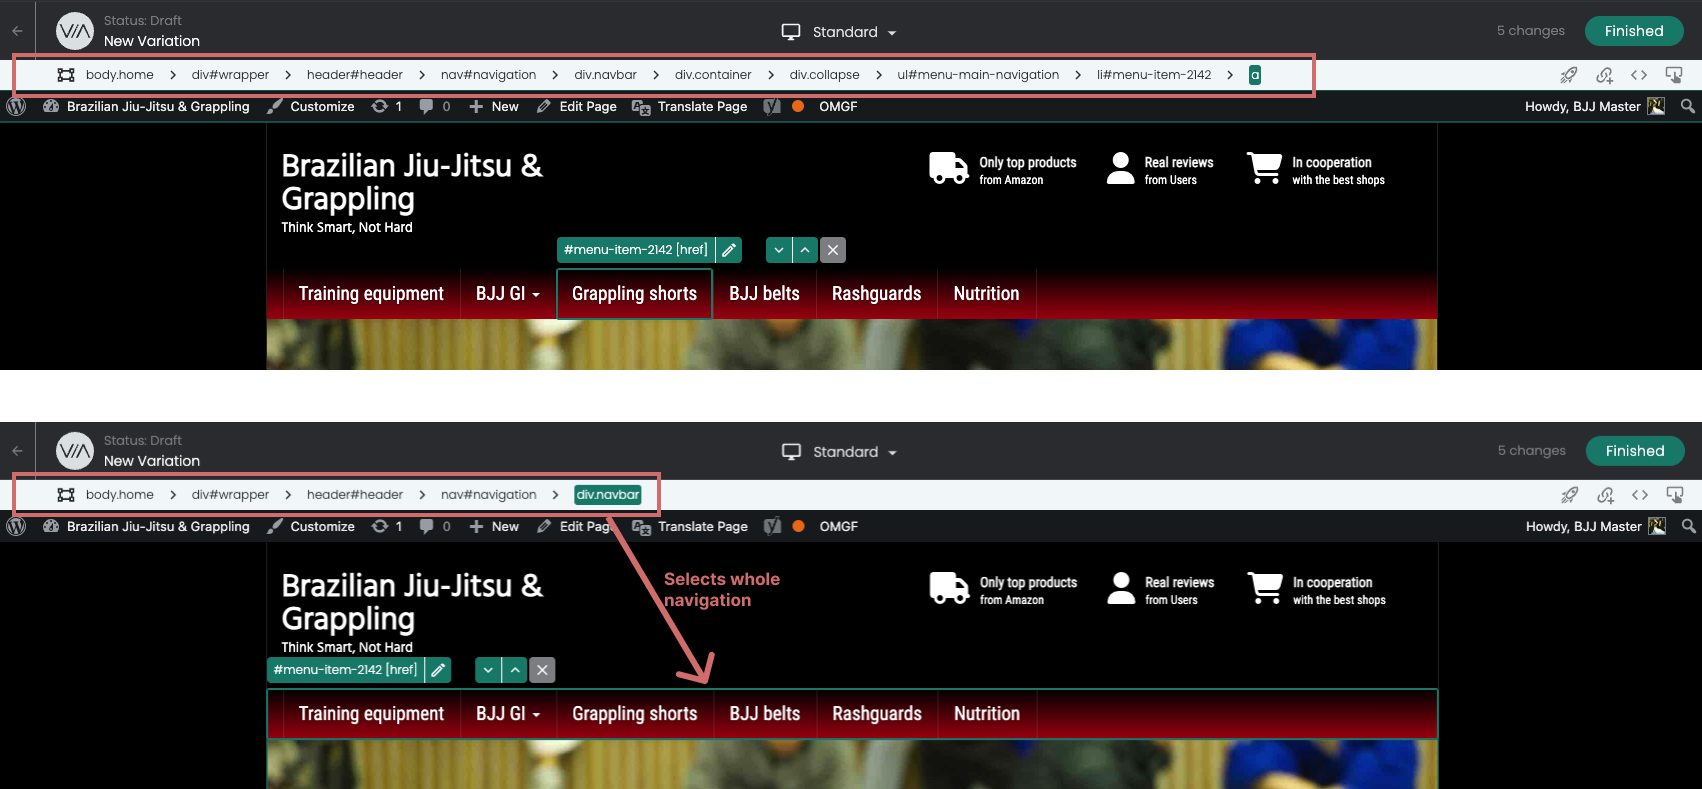
It is not always possible to select the correct element with a mouse click. For example, you want to move a parent element, but you can only click on the inner element.
The breadcrumb selector helps you here. When you click on an element, the elements/containers in which the element is nested are displayed. You can then select the parent element.
You can find a complete article on the function here: Breadcrumb Selector

First steps
Tracking & Evaluation
- Tracking with Varify.io
- GA4 reporting in Varify.io
- Segment and filter reports
- Audience-based evaluation in GA4
- Segment-based evaluation in GA 4
- Matomo - Results analysis
- etracker evaluation
- Calculate significance
- User-defined click events
- Evaluate custom events in explorative reports
- GA4 - Cross-Domain Tracking
Web analytics integrations
Further integrations
Create experiment
Expert functions
Visual editor
- Campaign Booster: Arrow Up
- Campaign Booster: Exit Intent Layer
- Campaign Booster: Information Bar
- Campaign Booster: Notification
- Campaign Booster: USP Bar
- Add Link Target
- Browse Mode
- Custom Selector Picker
- Edit Content
- Edit Text
- Move elements
- Hide Element
- Keyword Insertion
- Redirect & Split URL Testing
- Remove Element
- Replace Image
- Responsive Device Switcher
- Style & Layout Changes